
Introduction
Google has once again entered the IDE space with its latest creation, Antigravity. This new AI-powered IDE promises to revolutionize the way we code, offering a seamless and intelligent development experience. In this blog post, we’ll take a closer look at Antigravity, exploring its features and walking through the onboarding process.
This is yet another effort by Google to compete with Desktop based and agentic IDEs like Cursor, Windsurf, Kiro, or Visual Studio Code that offer multiple models. I will try to show its features and compare with other similar ide in terms of similarities and differences.
Onboarding with Agent Modes
The onboarding process is straightforward. You’ll need to sign in with your Google account and agree to the terms of service.
The new thing I noticed immediately was 4 different modes to begin with, each with its own set of default settings, and one of them selected as recommended.

Onboarding Step: Agent Assisted
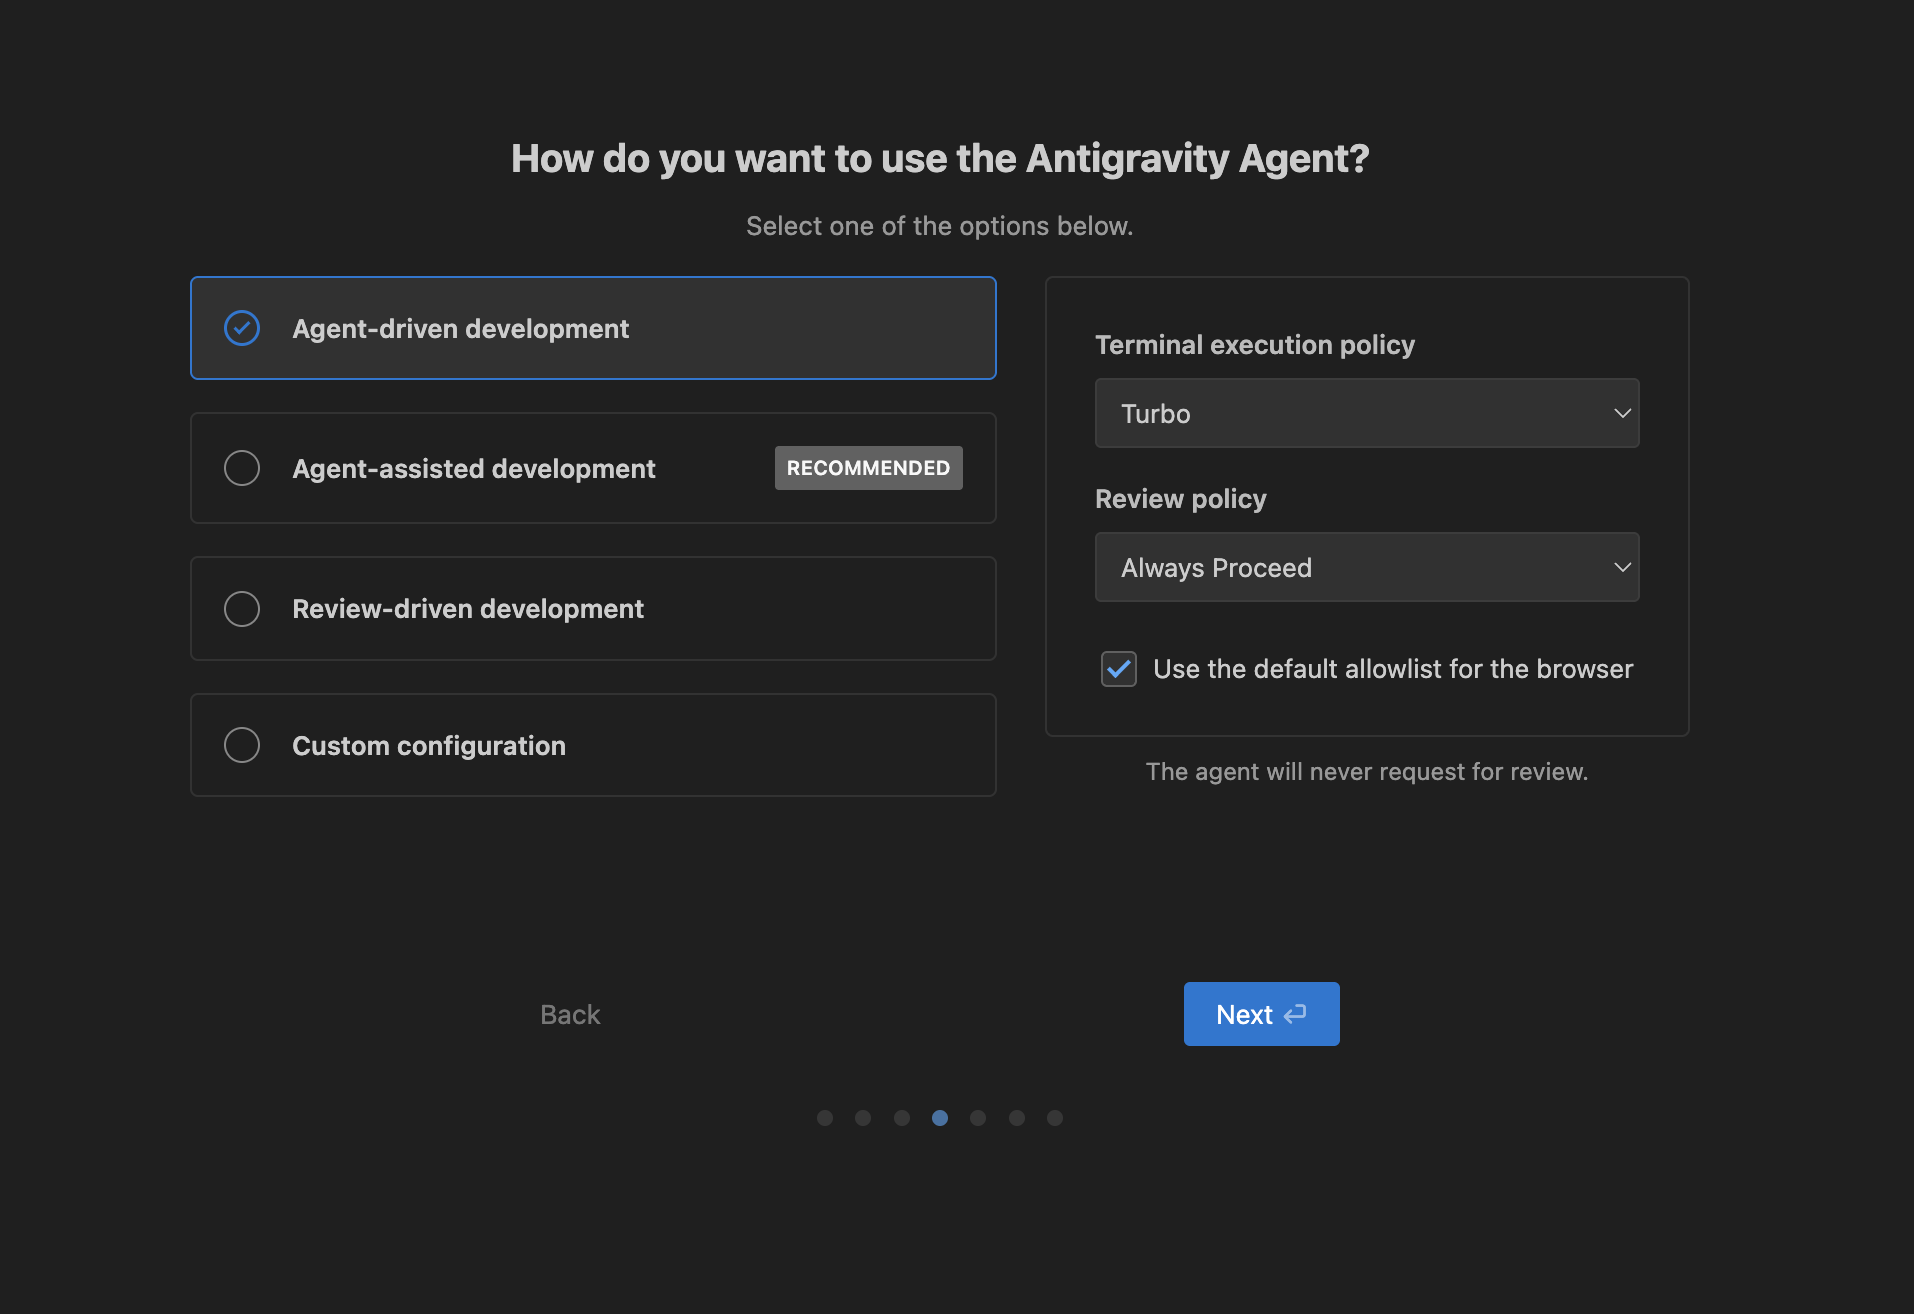
Onboarding Step: Agent Driven
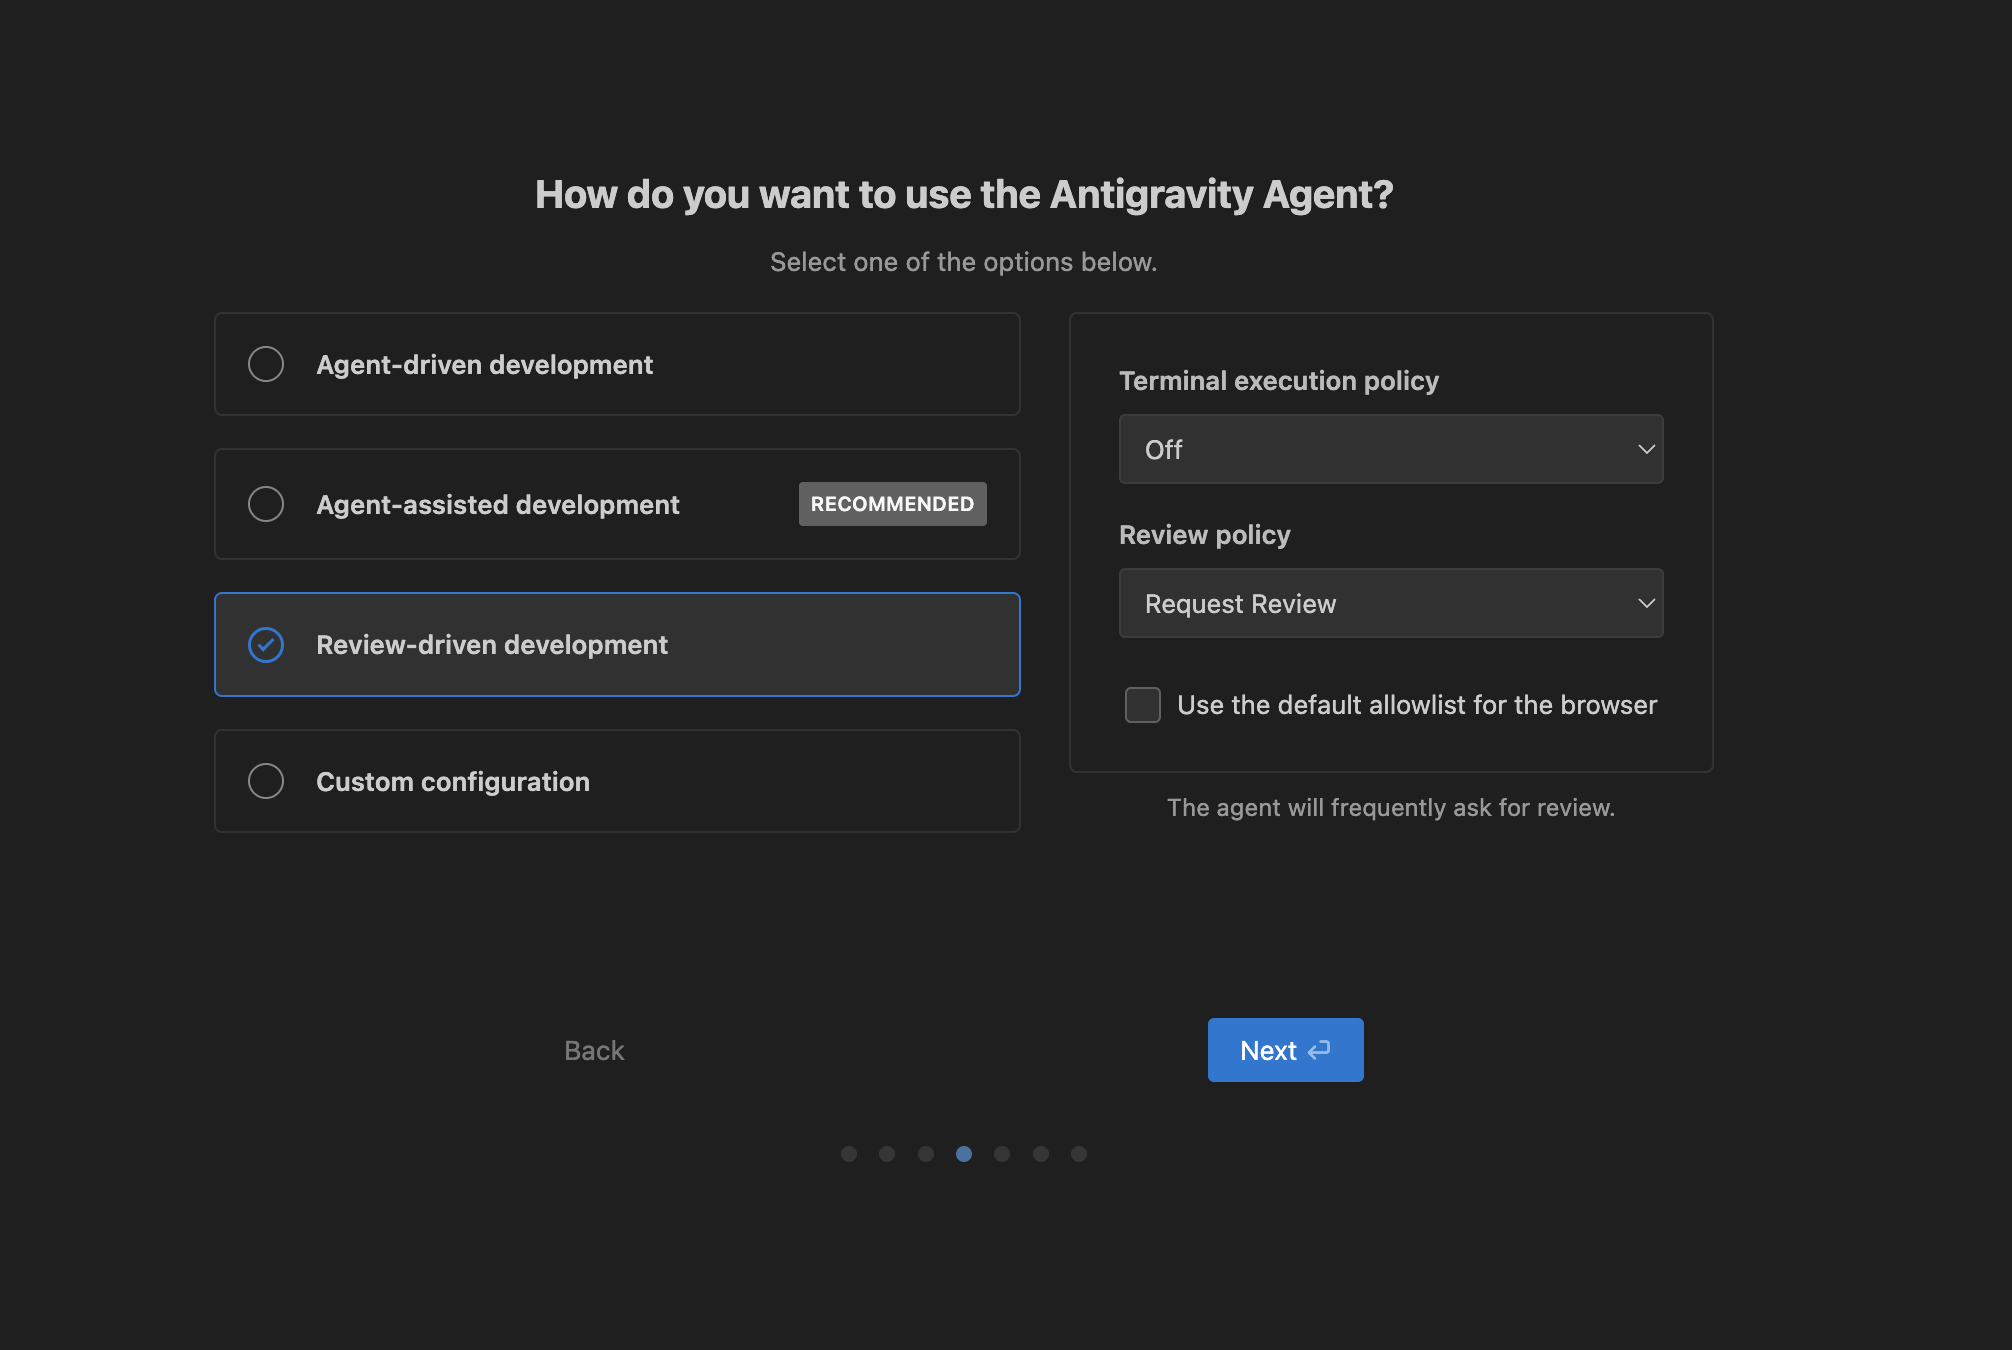
Onboarding Step: Review Driven
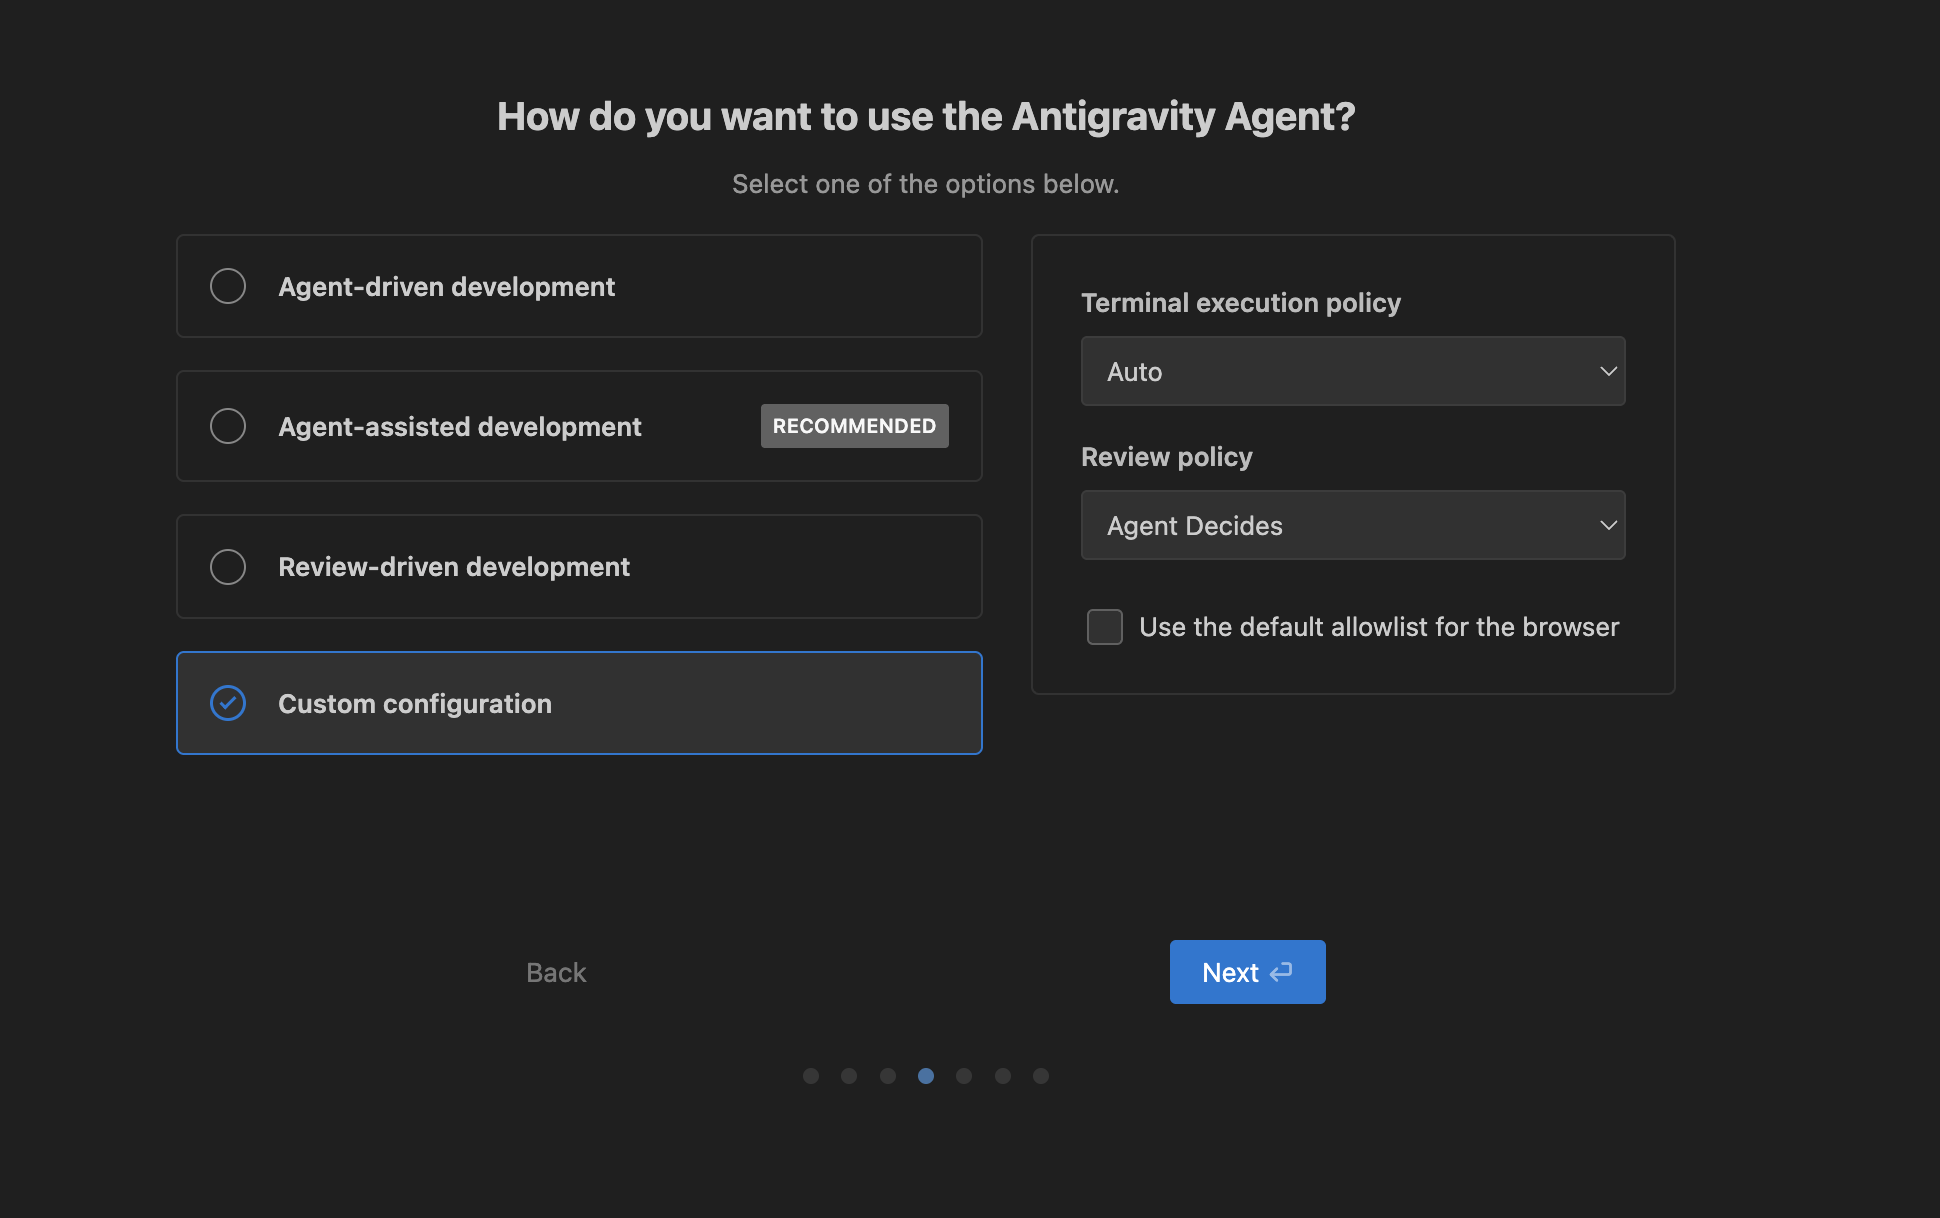
Onboarding Step: Custom
I still have to explore what each option allows, but for now I’m gonna go with the recommended Agent Driven approach.
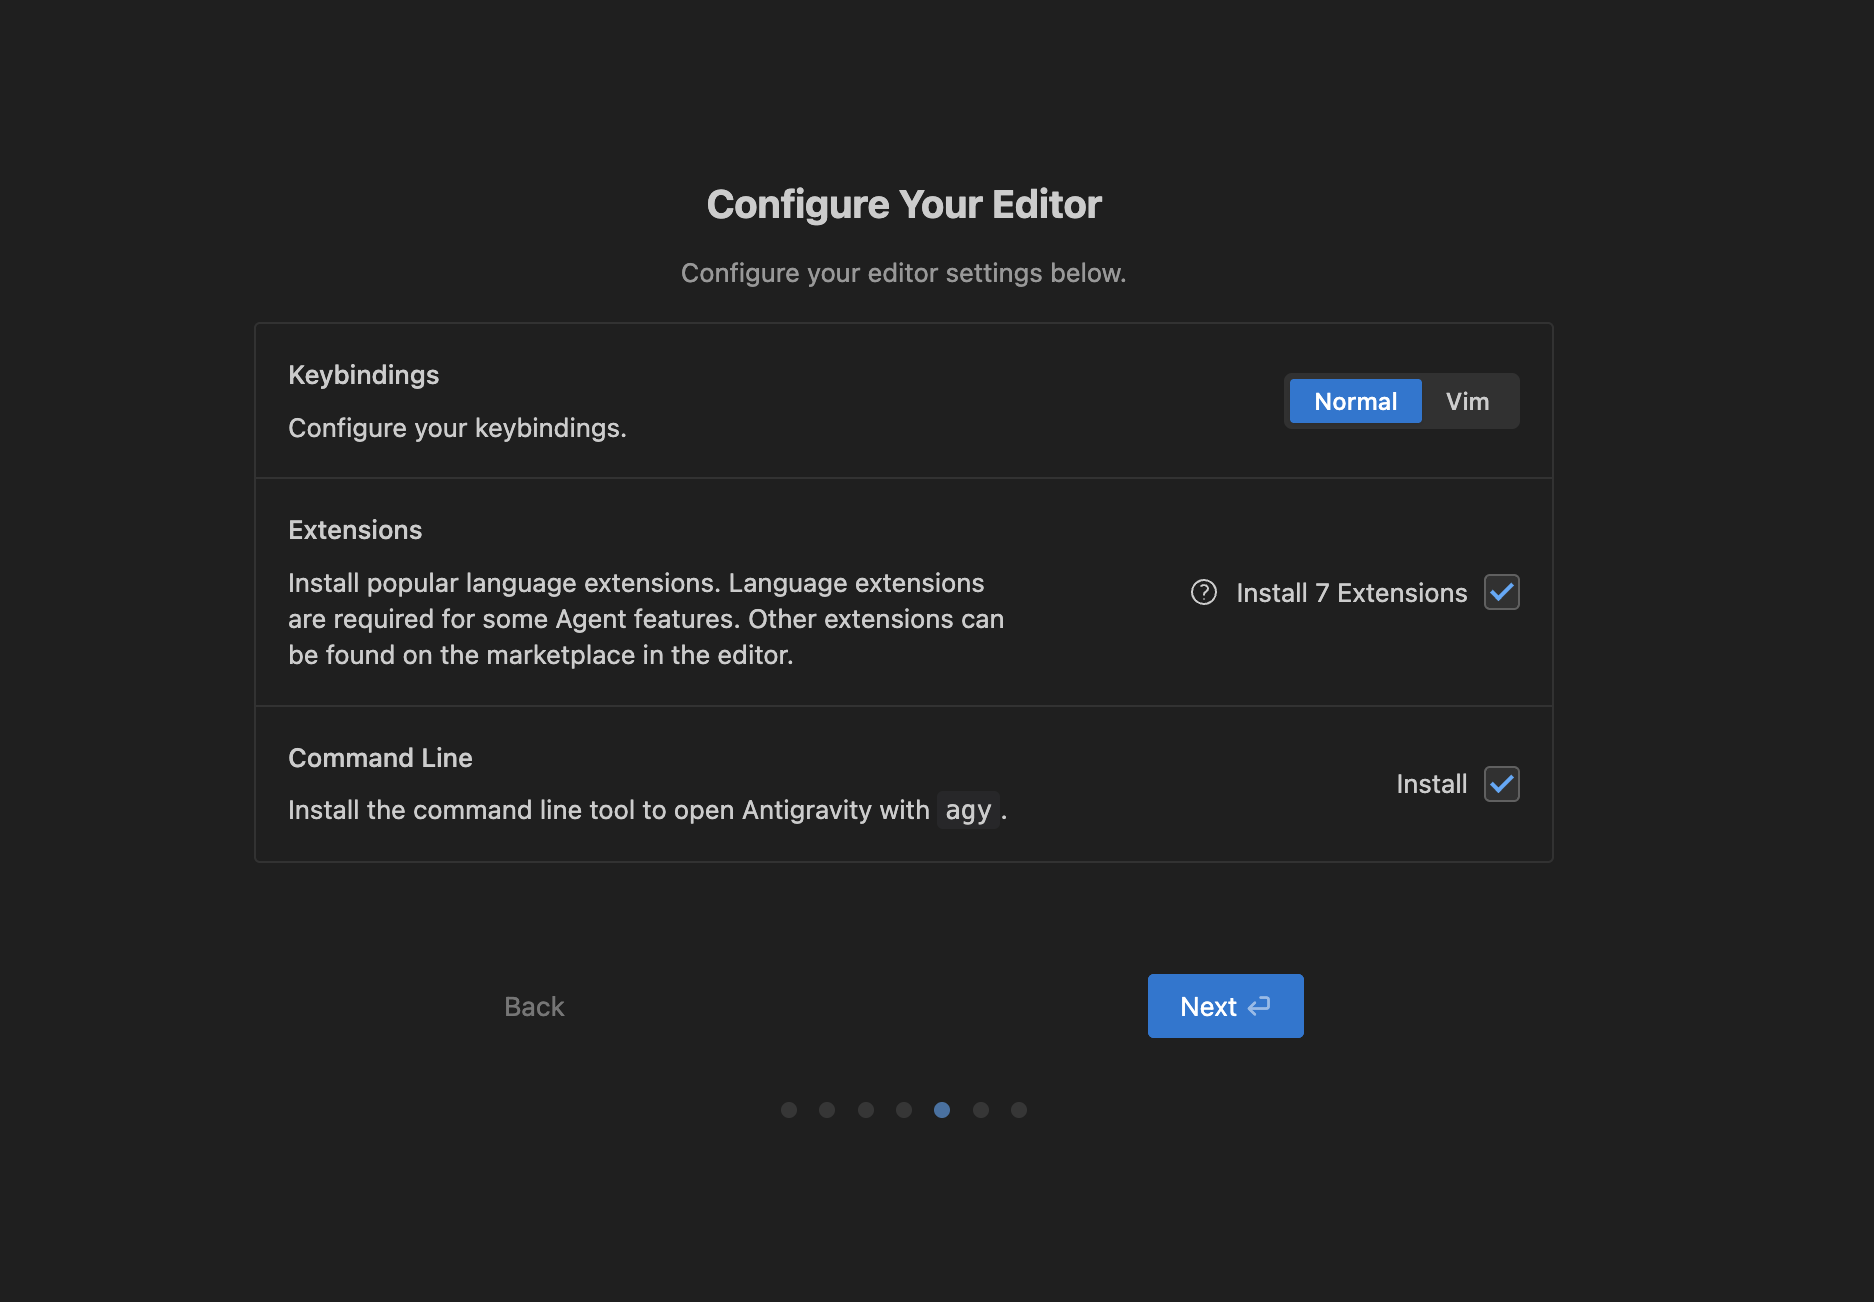
Keybindings
Antigravity offers customizable keybindings, allowing you to tailor the IDE to your workflow. I selected import from Cursor, so it automatically brought in the keybinding and the plugins. This is the benefit of having a VS Code based IDE.
The new thing here is the command line called agy. Given that google already has other command line utilities like gemini-cli which can be access with the command gemini as well as another cli with the jules agentic tool which can be accessed with the jules command, this is just adding to that confusion I have spoken in my previous blog entry.
Antigravity Keybindings, Plugins and CLI
Sign In and Terms of Use
You have to sign in to your google account. Looking at the pricing, it seems like the individual version is free for the preview period, not sure how long this will last.
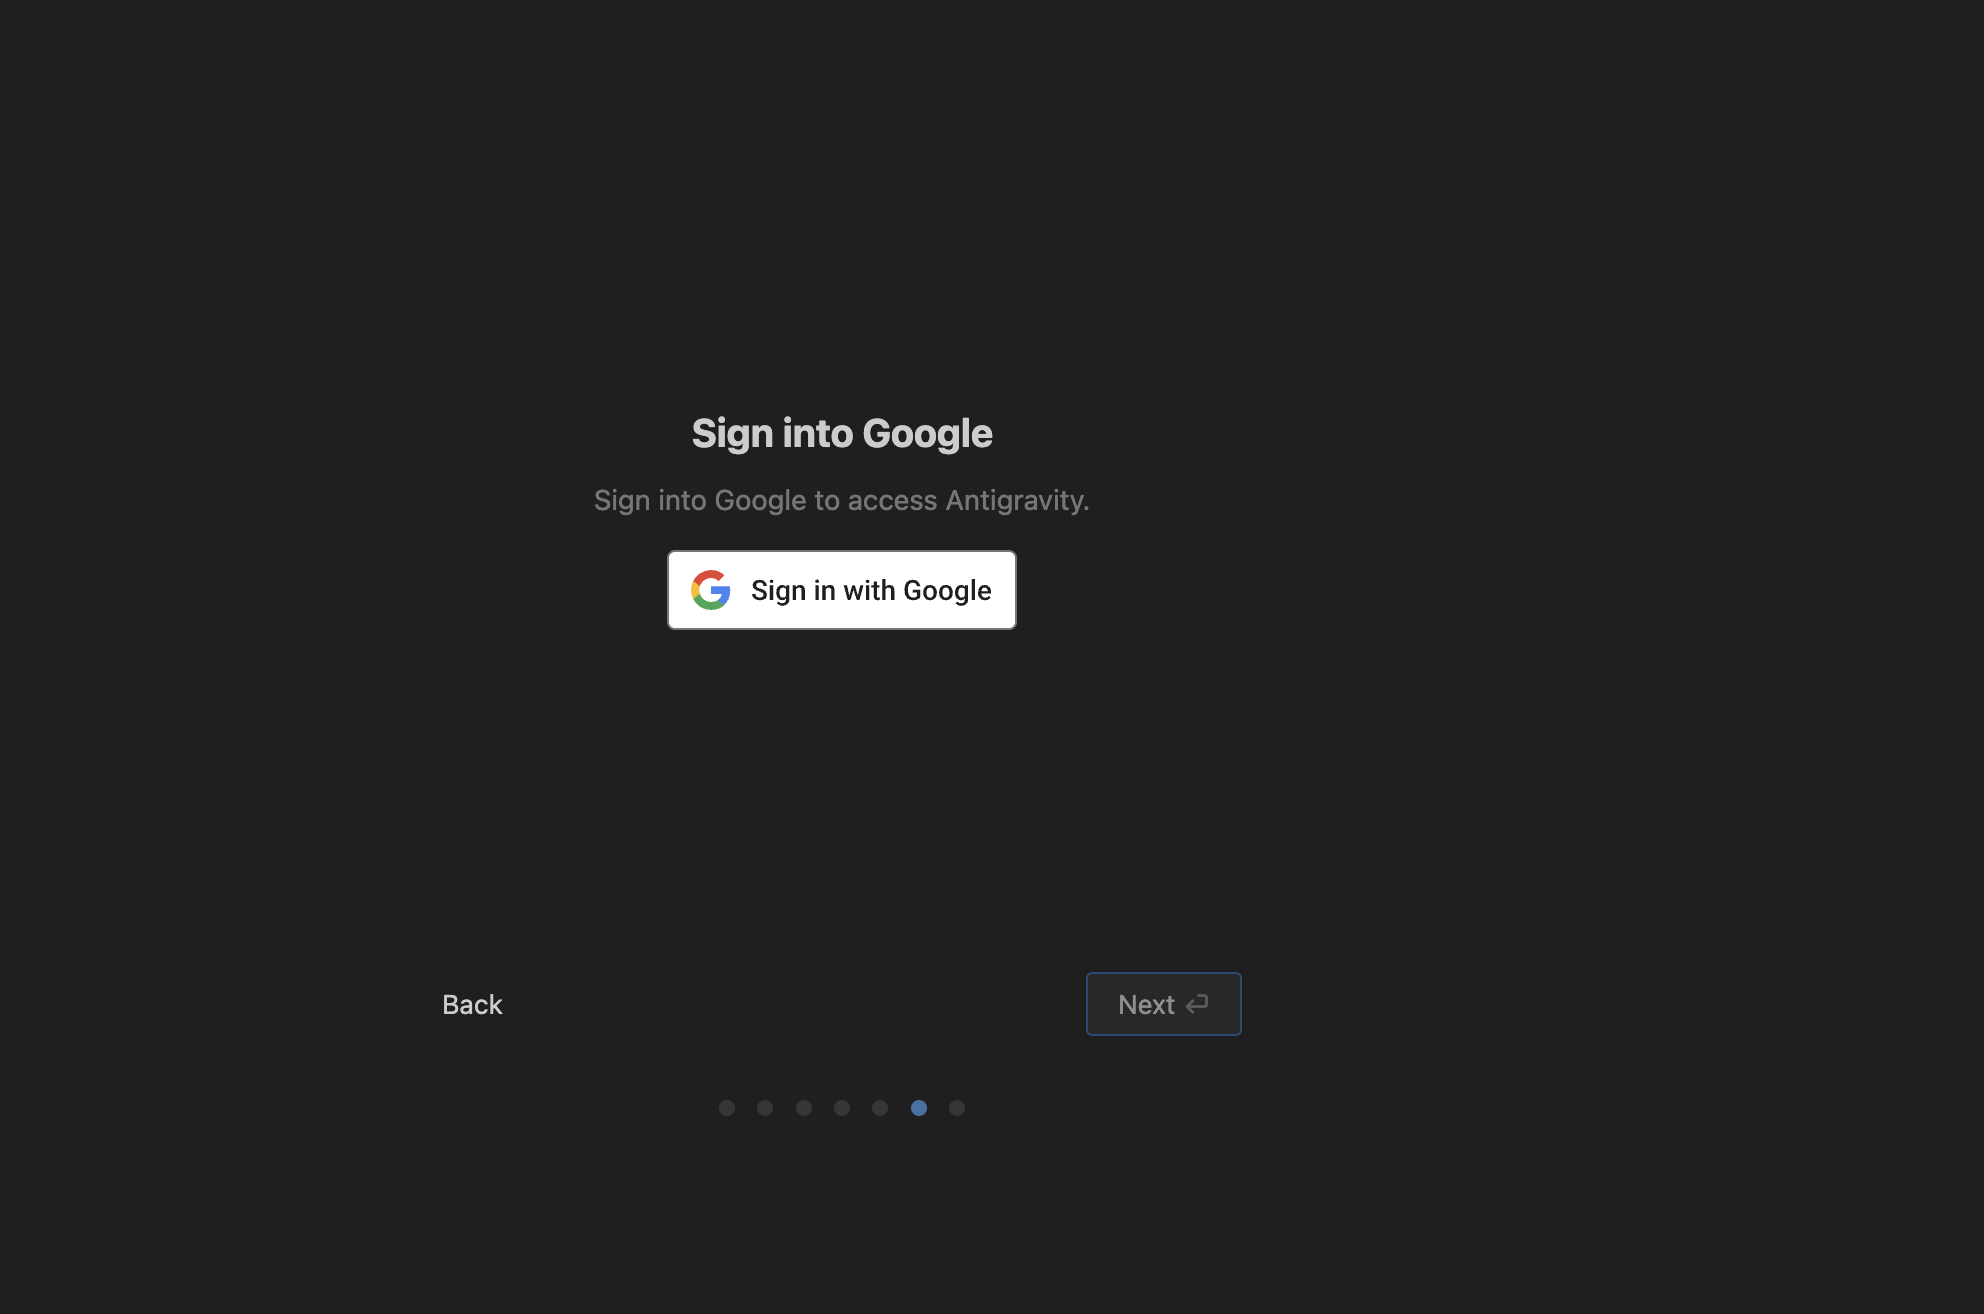
Antigravity Sign In
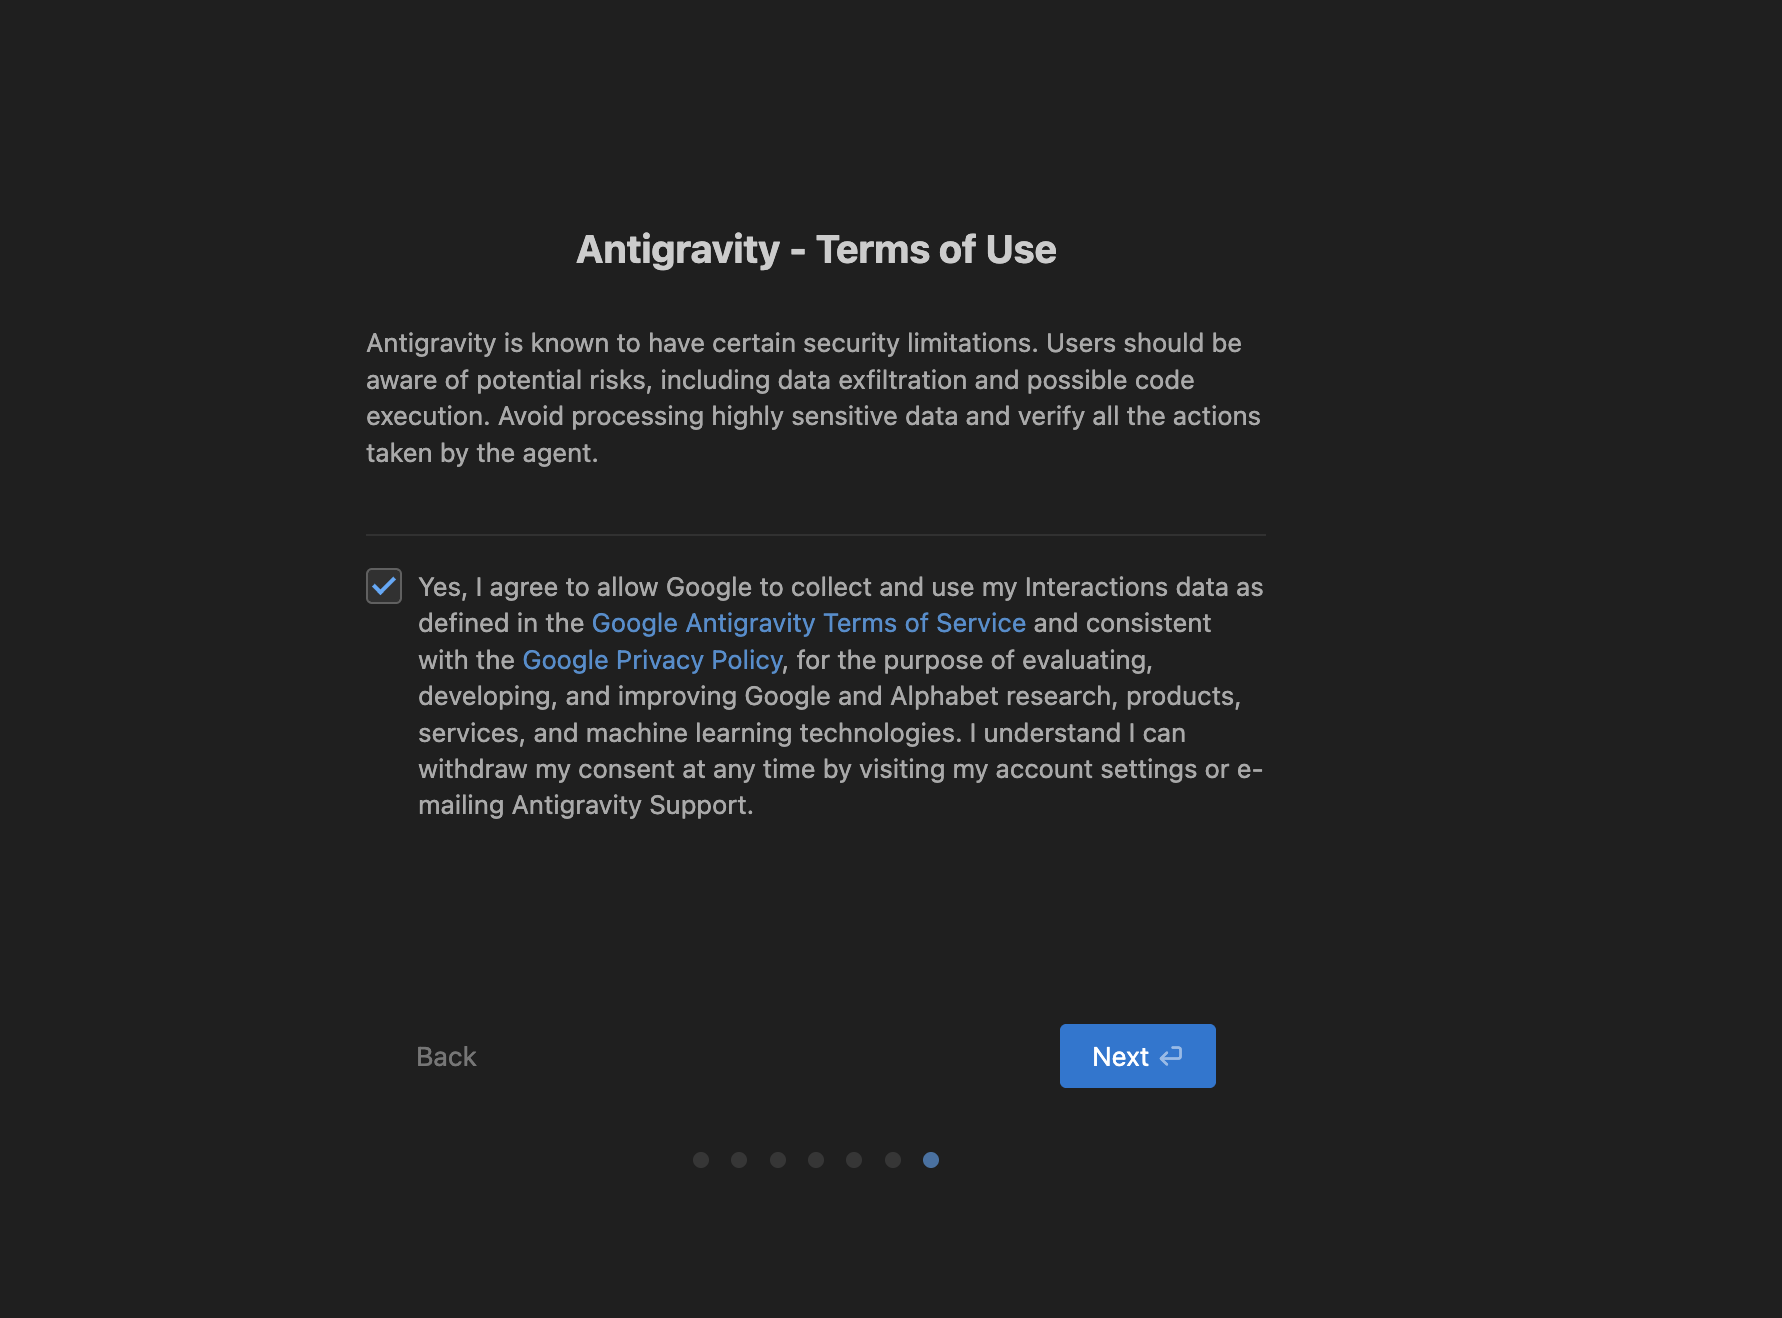
Antigravity Terms of Use
Inside the IDE
Upon landing on the main screen, you are greeted with a clean, minimal and modern interface. The home screen provides easy access to your projects and settings.
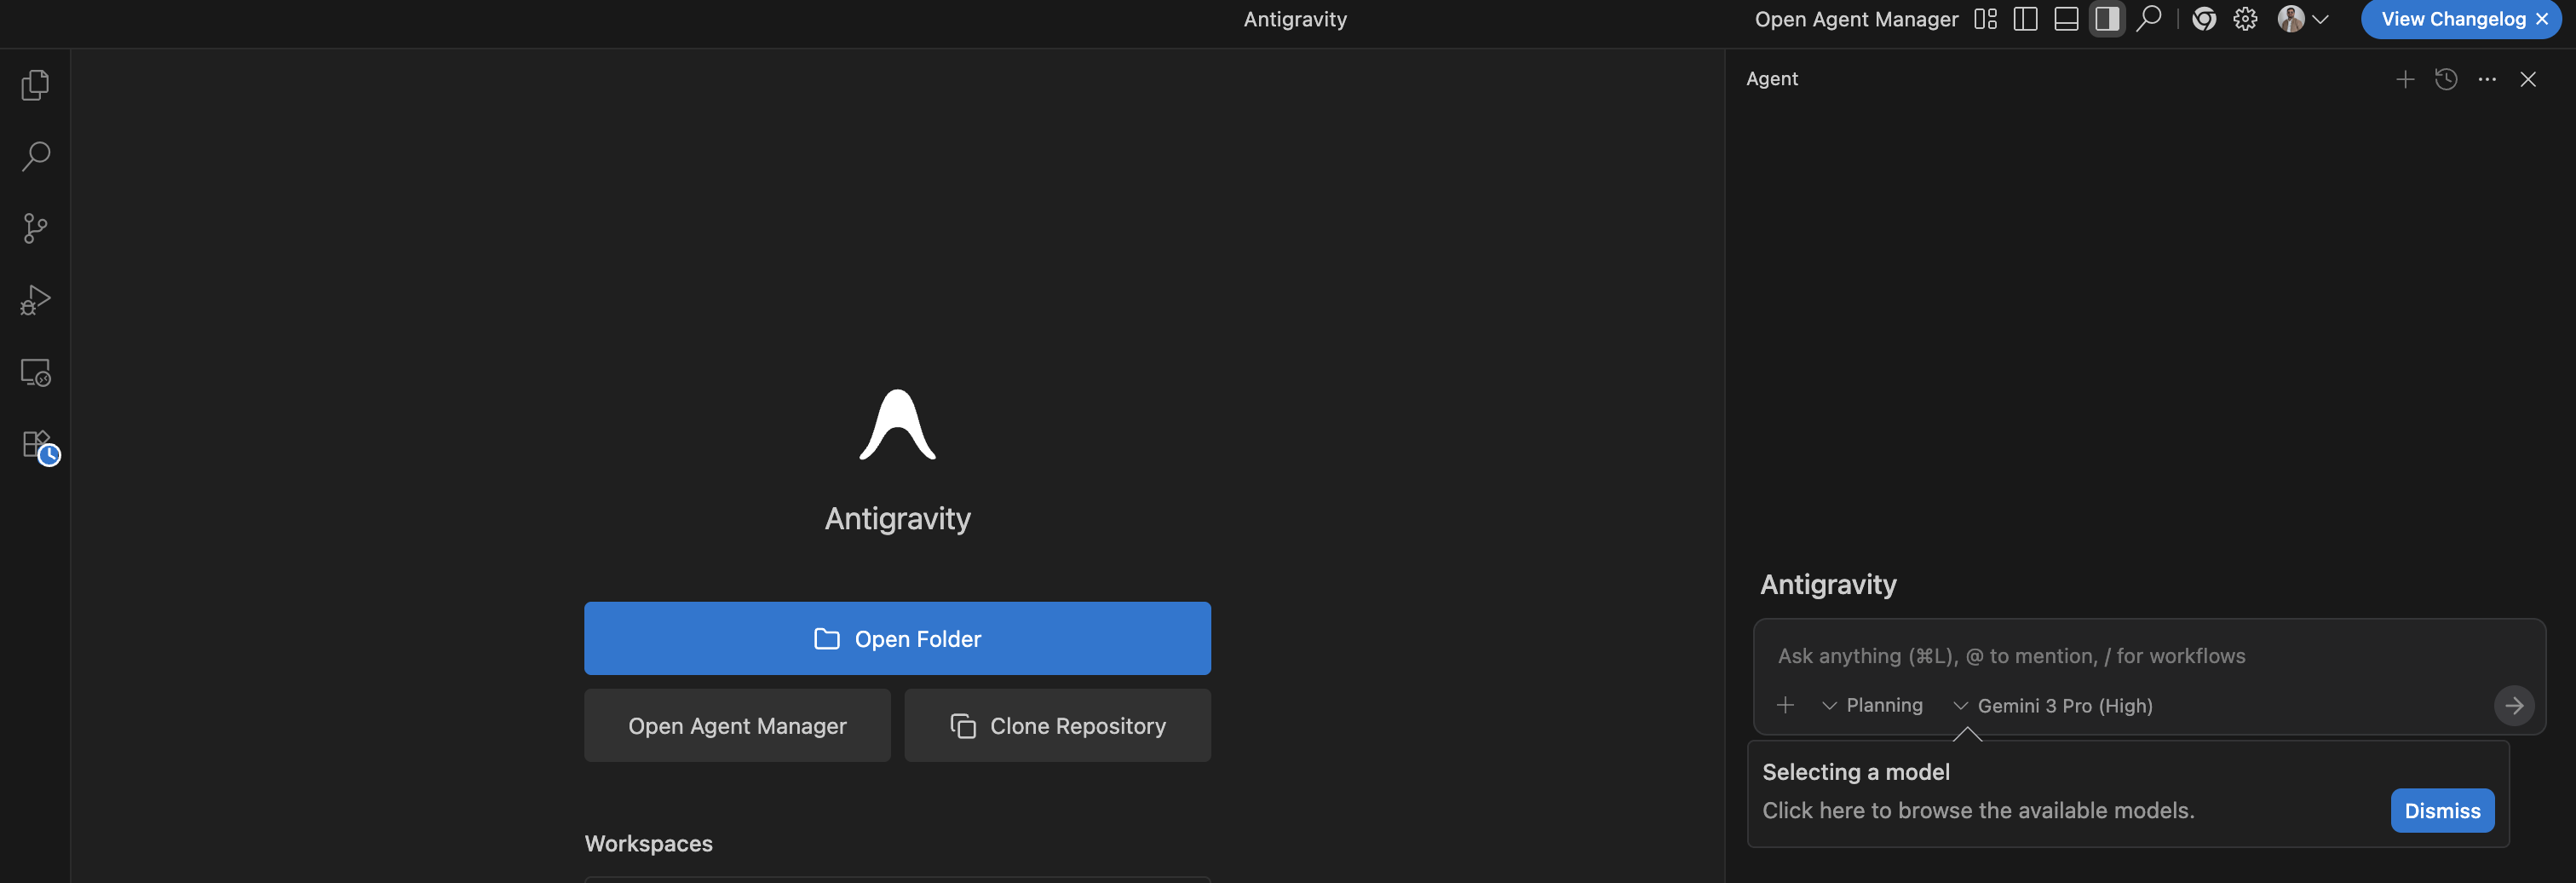
Antigravity Home Screen
The Agent interface allows you to select Planning or Fast mode. The planning mode works as an assistant that helps brainstorming and planning. The fast mode will apparently execute the tasks directly.
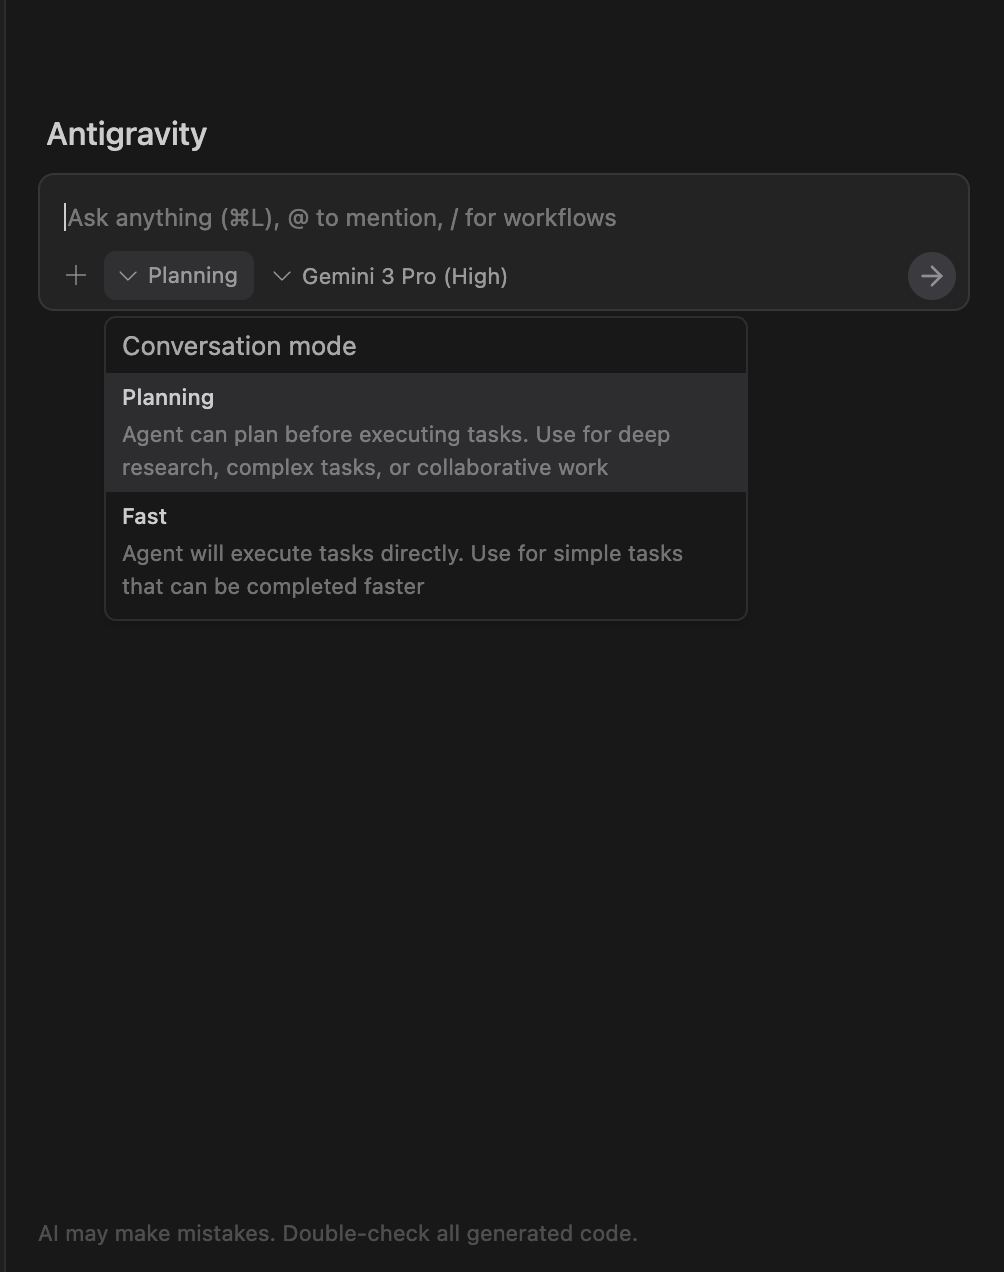
Planning Mode v/s Fast Mode
The Model Selection dropdown allows you to select a model of your choice. Unsurprisingly the propritery OpenAI GPT Models aren’t available, but the Open Source GPT-OSS models are available. Grok models aren’t also available. The current offerings are:
- Gemini 3 Pro (High & Low)
- Claude Sonnet 4.5 (Normal & Thinking)
- GPT-OSS 120B (Medium)

Model Selection
IDE Settings
You can fine-tune the behavior of the agents through the settings panel. This includes adjusting the AI model, tab settings, and more.
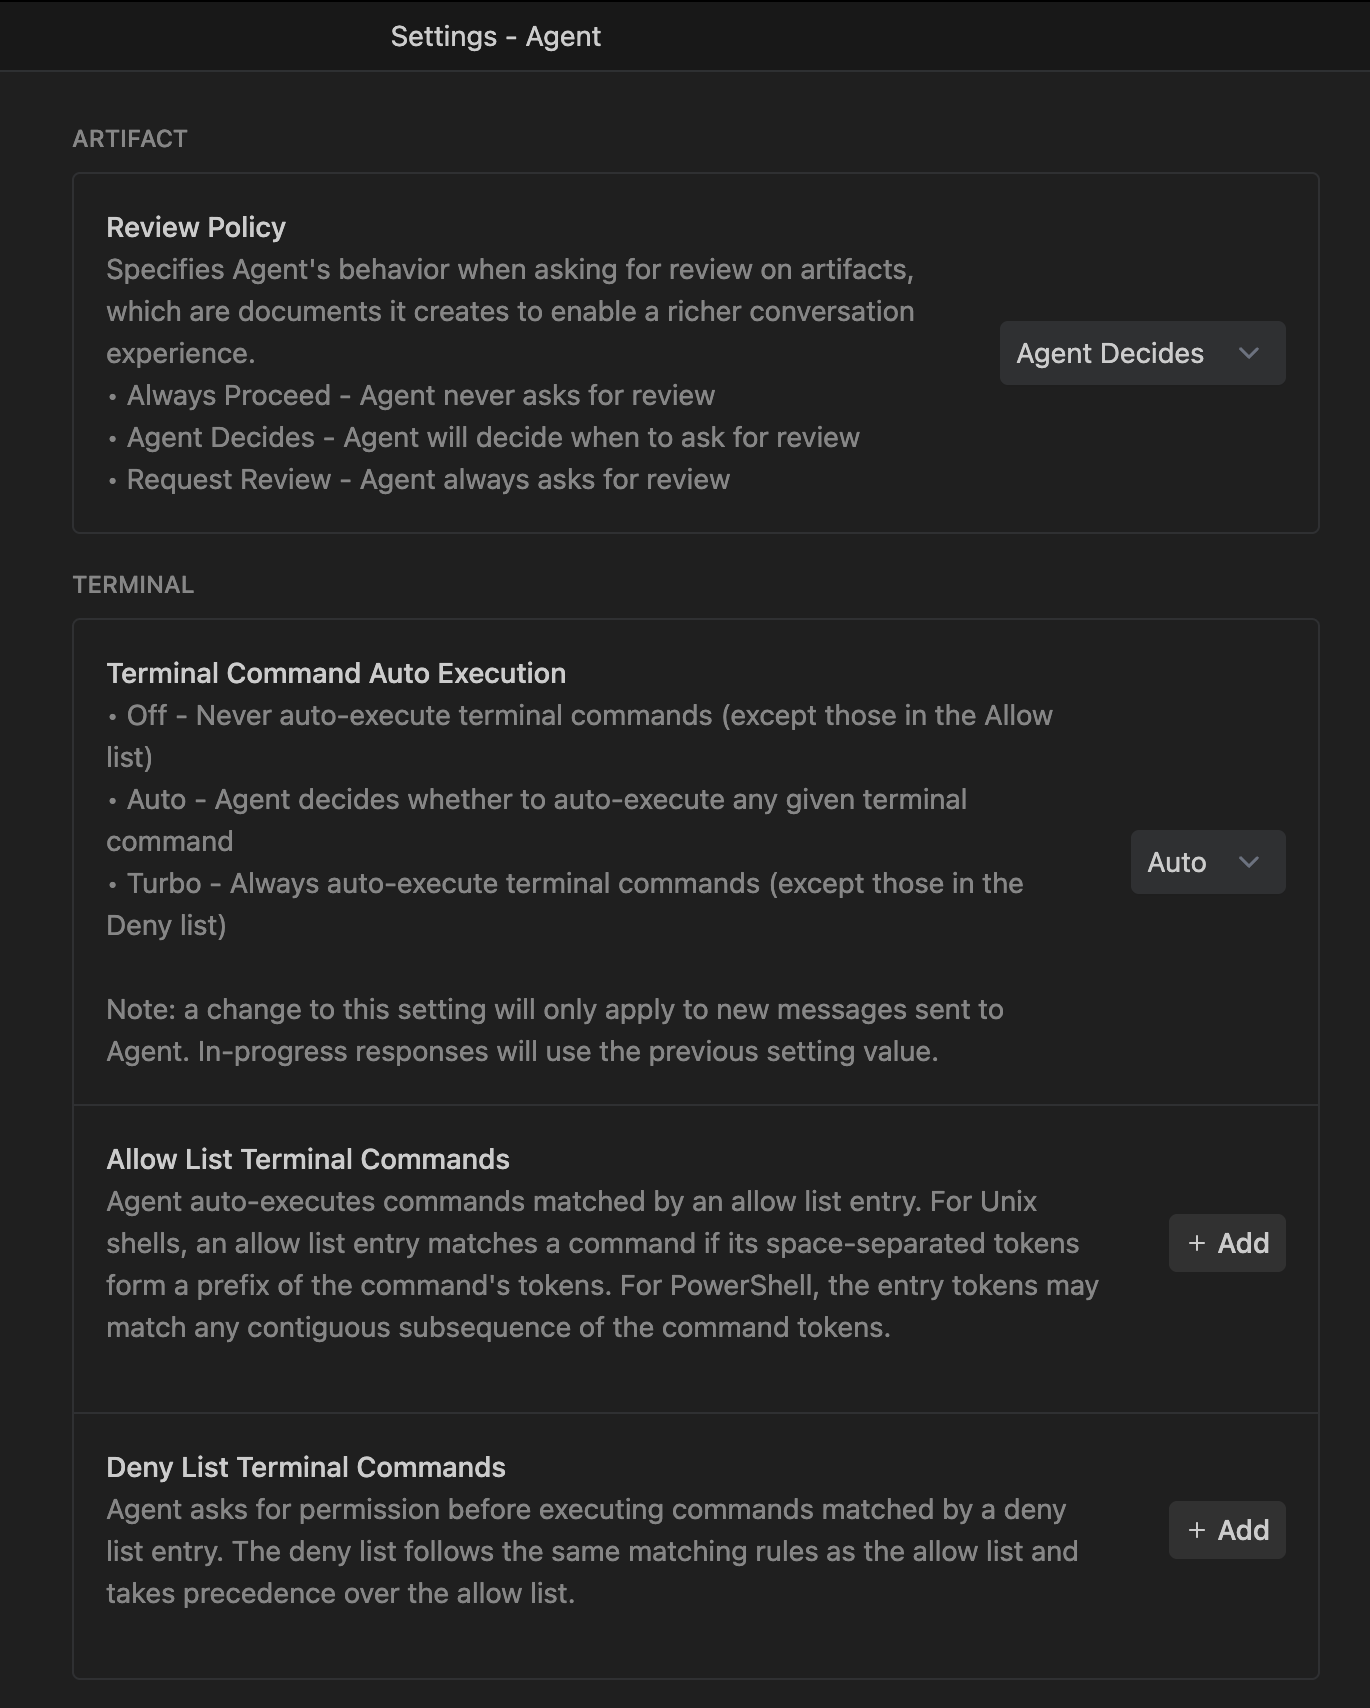
Antigravity Agent Settings
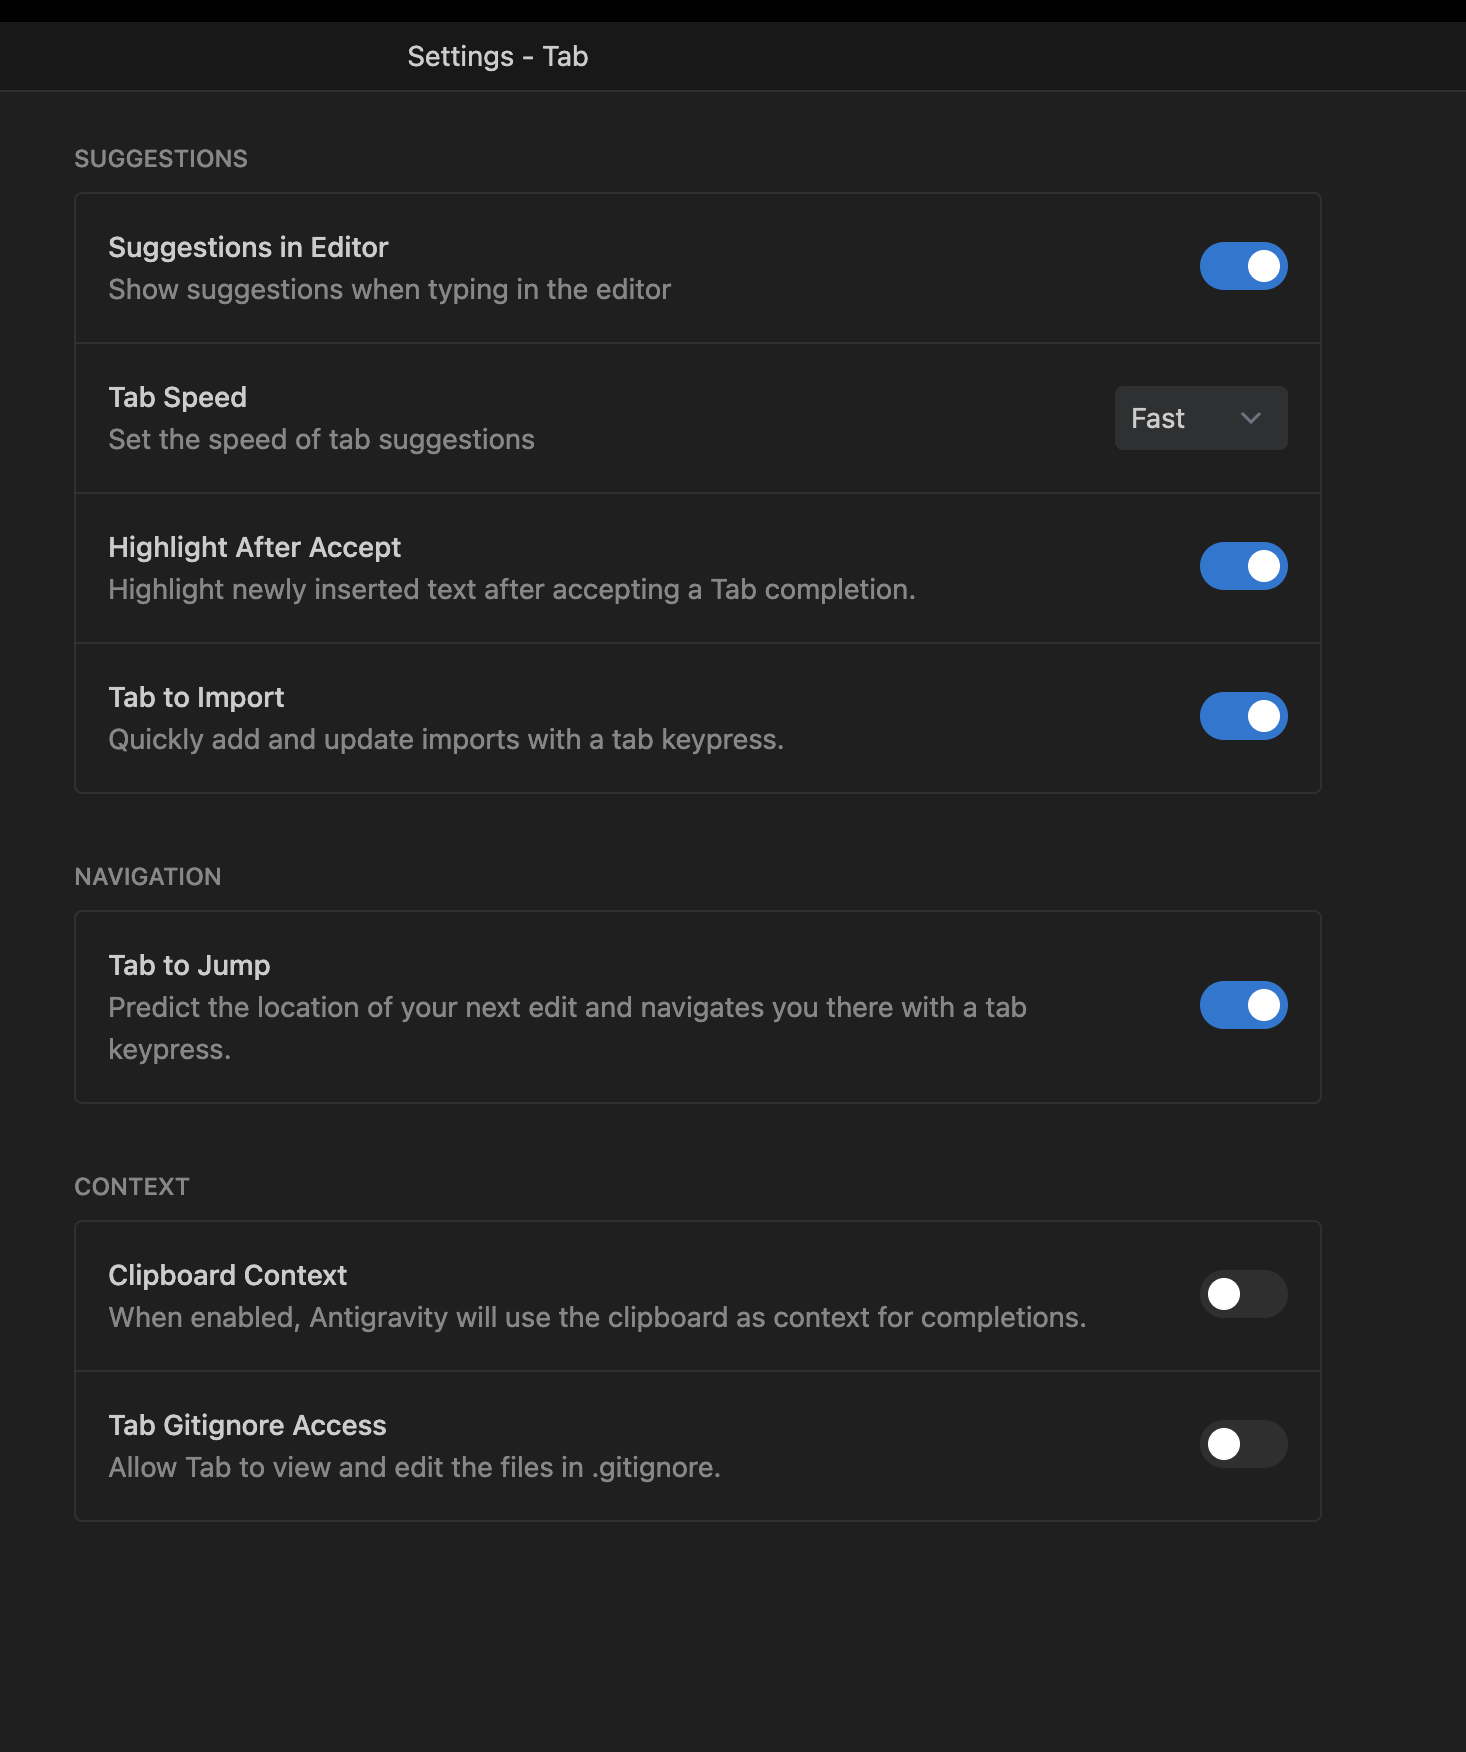
Antigravity Tab Settings
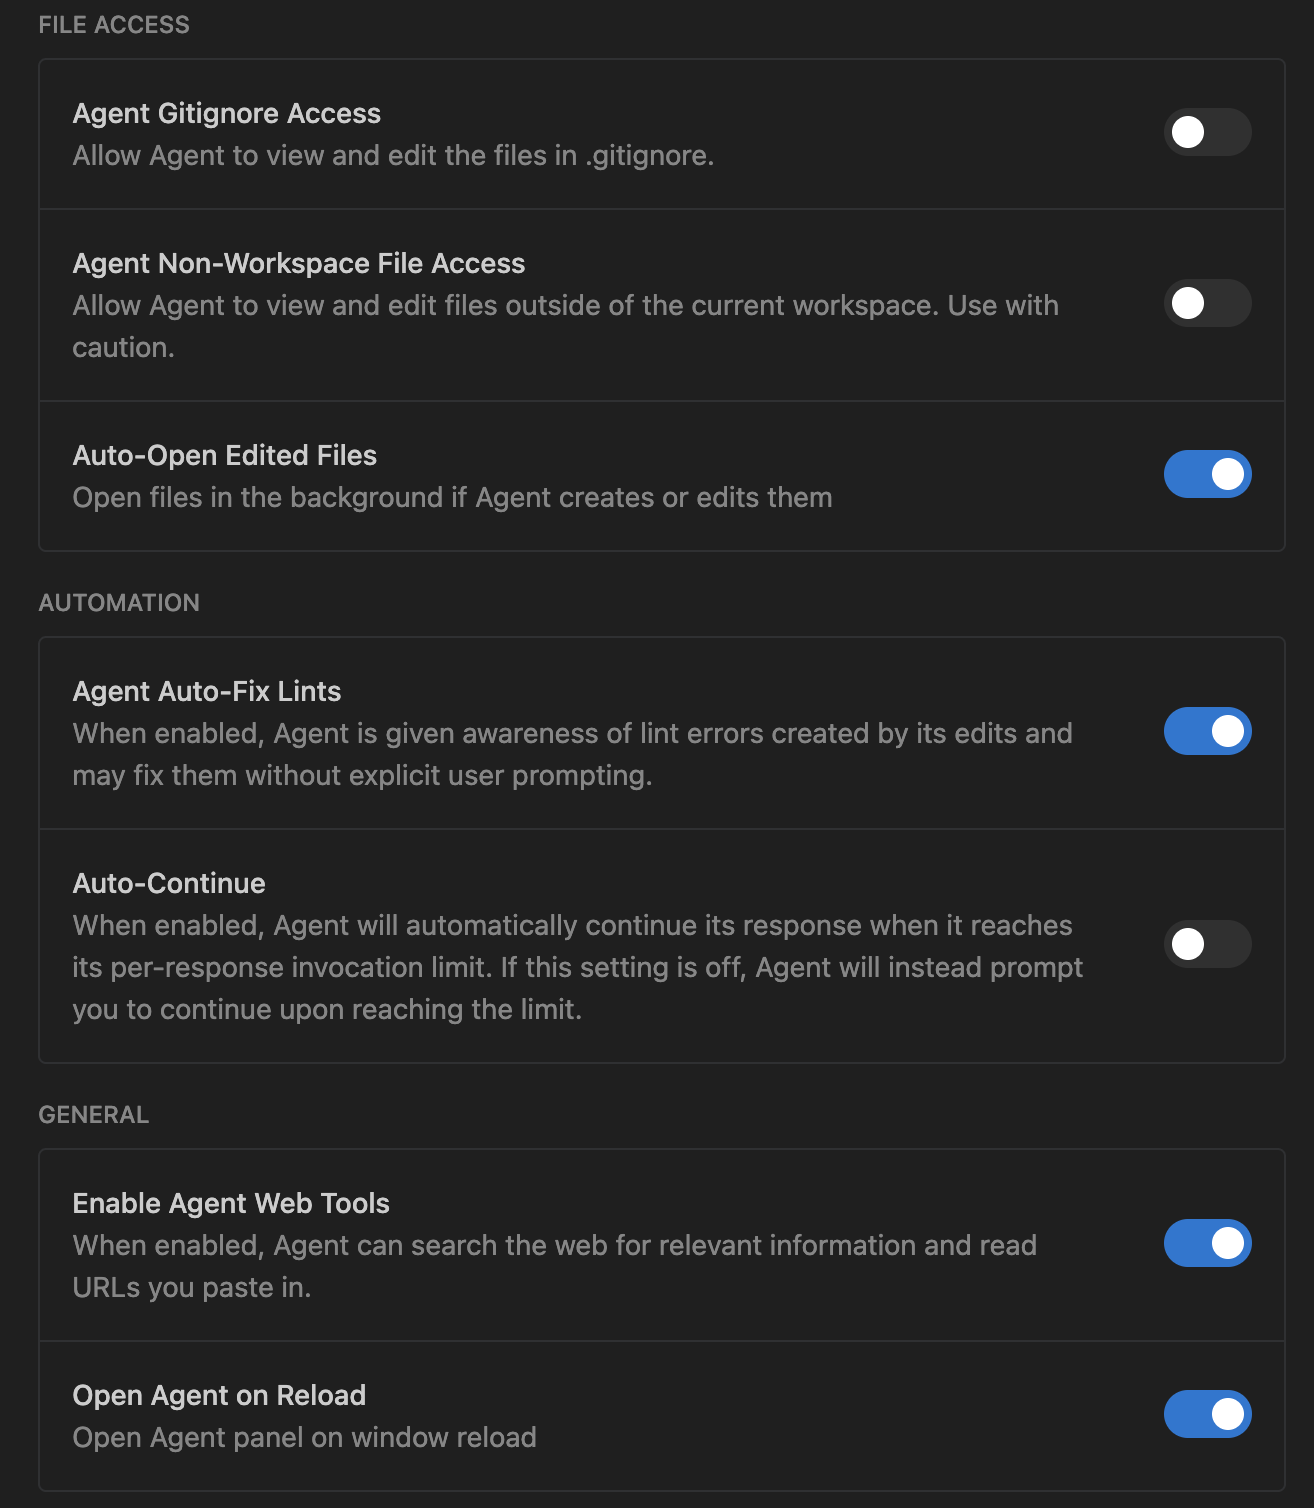
Antigravity File Access Settings
The Browser
Antigravity includes a built-in browser, which is a handy feature for web development. Reading the documentation, it seems like this feature allows you to directly interact with the browser in agentic manner. This may eliminate the need of additional plugins or mcp that allows similar behaviors.
The chrome extension comes with the IDE, upon clicking the browser icon on the task bar launches the browser and lets you add the chrome extension.
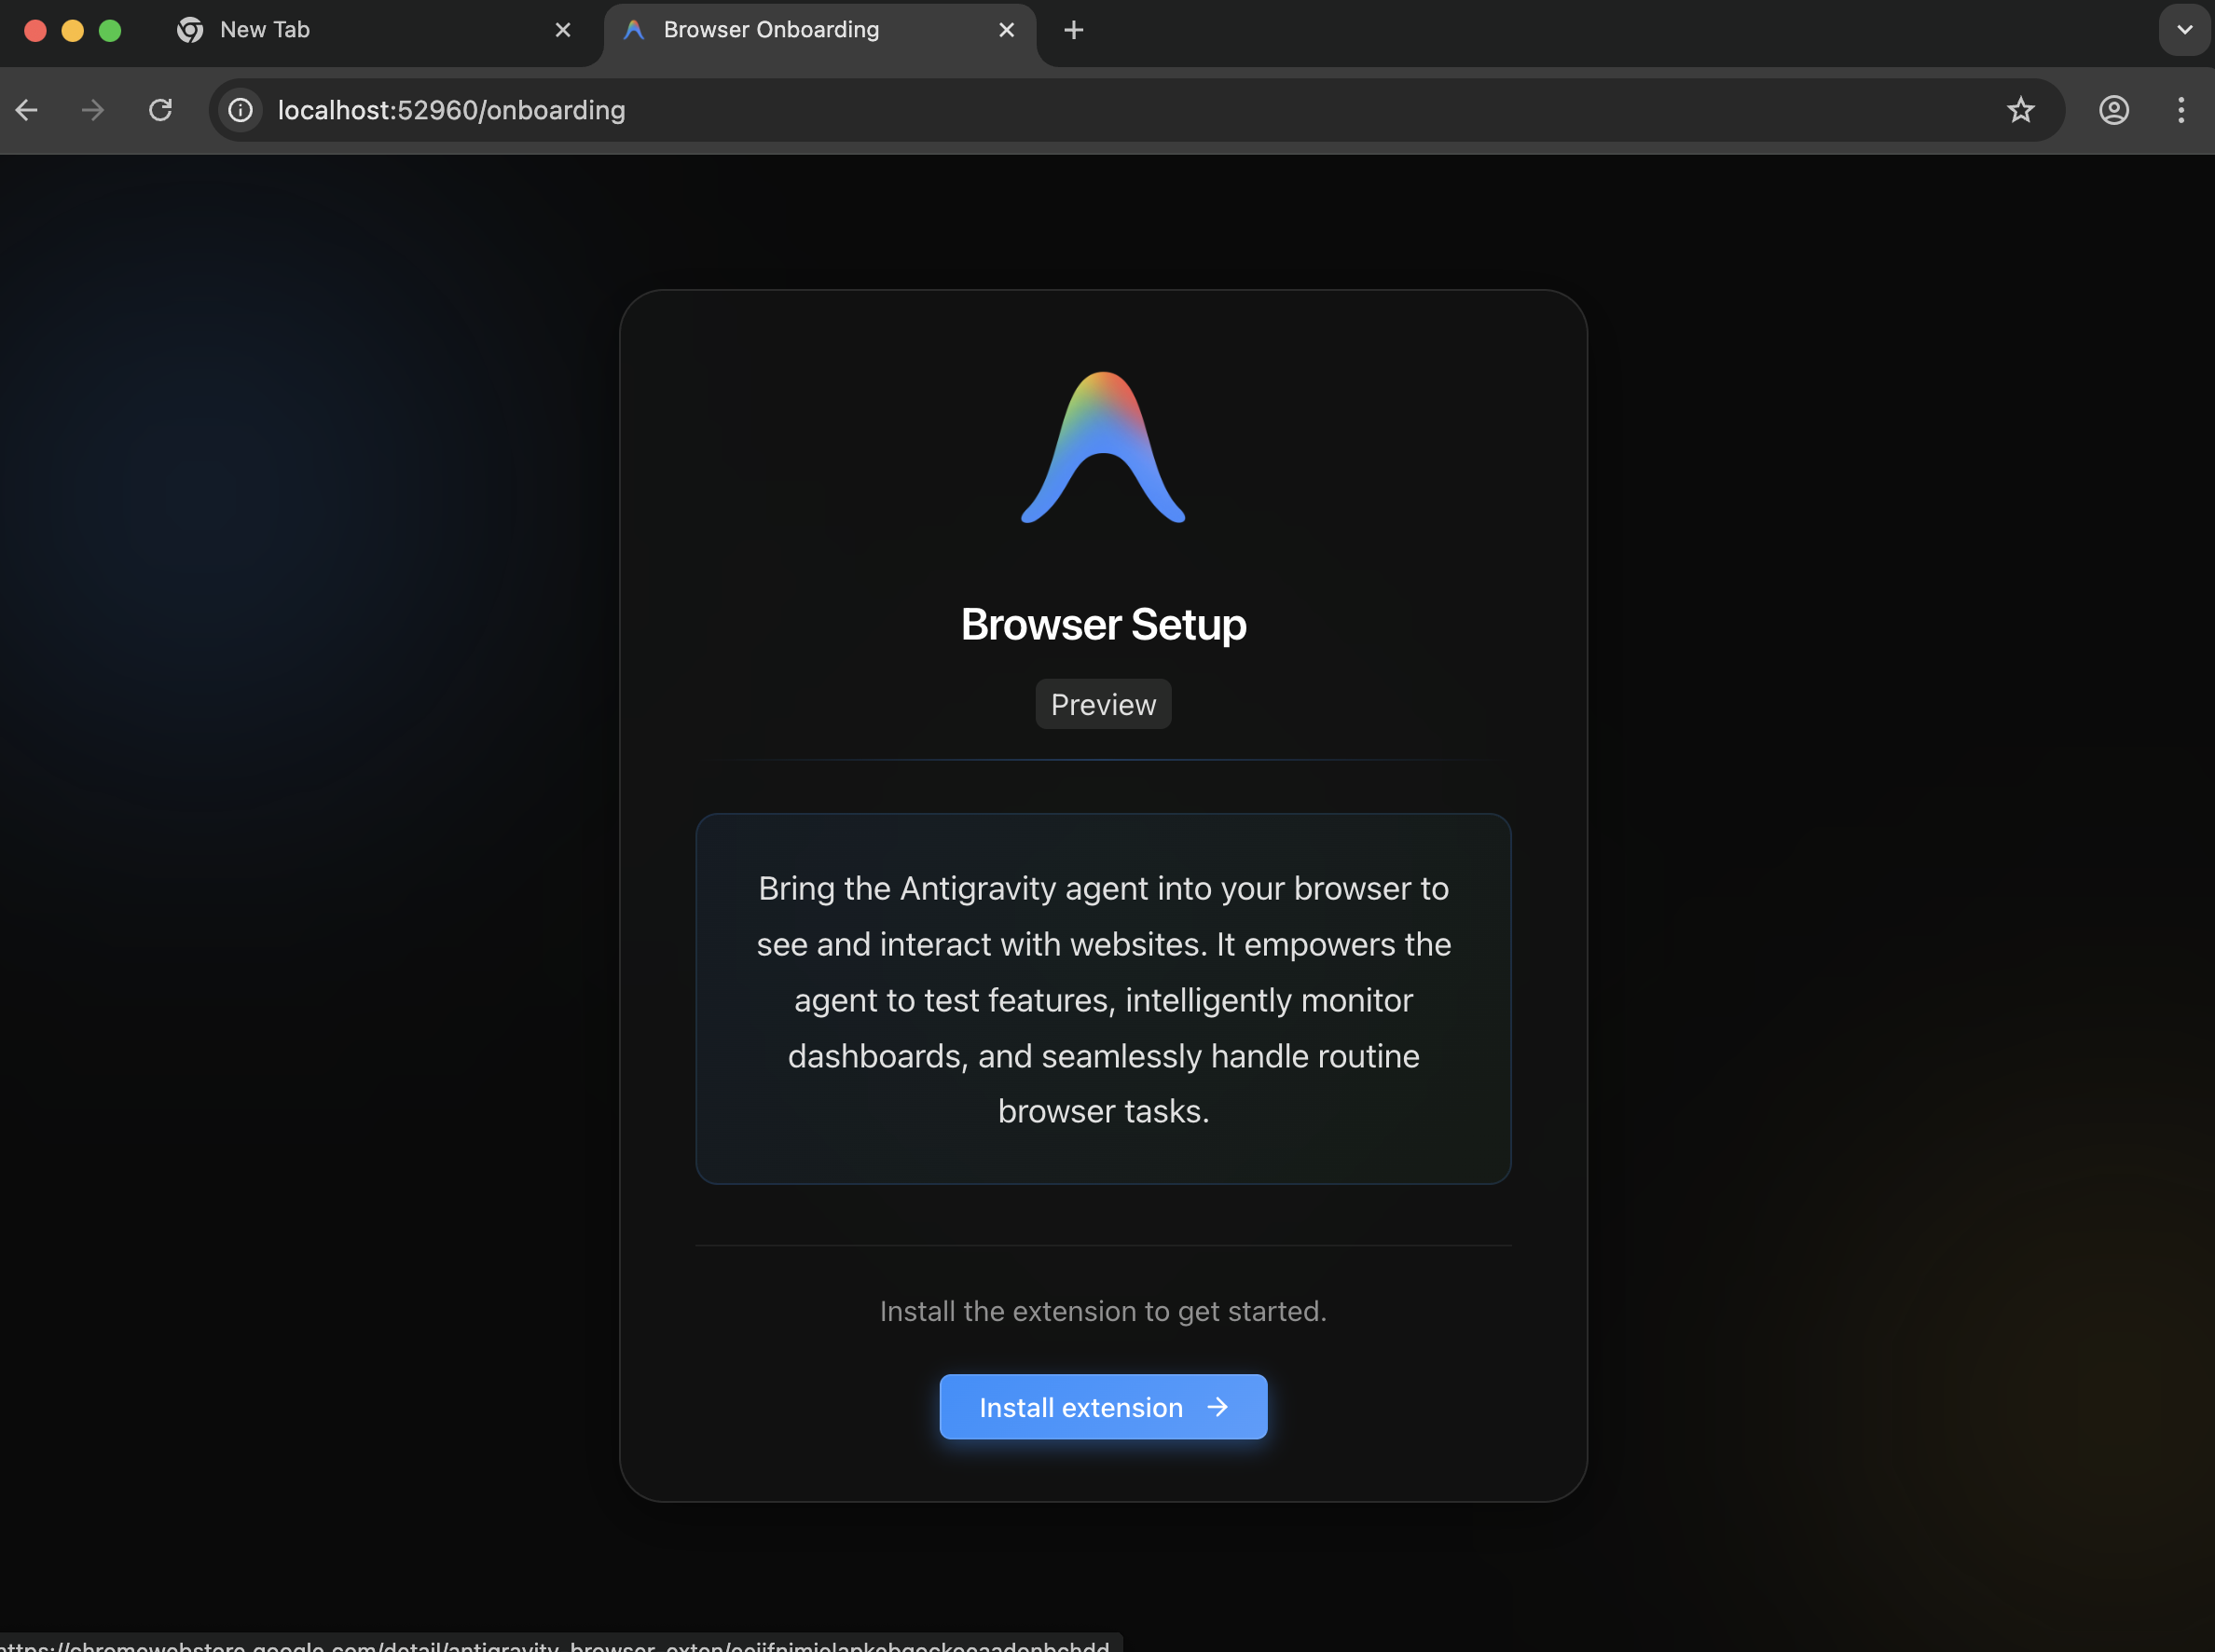
Antigravity Browser Onboarding
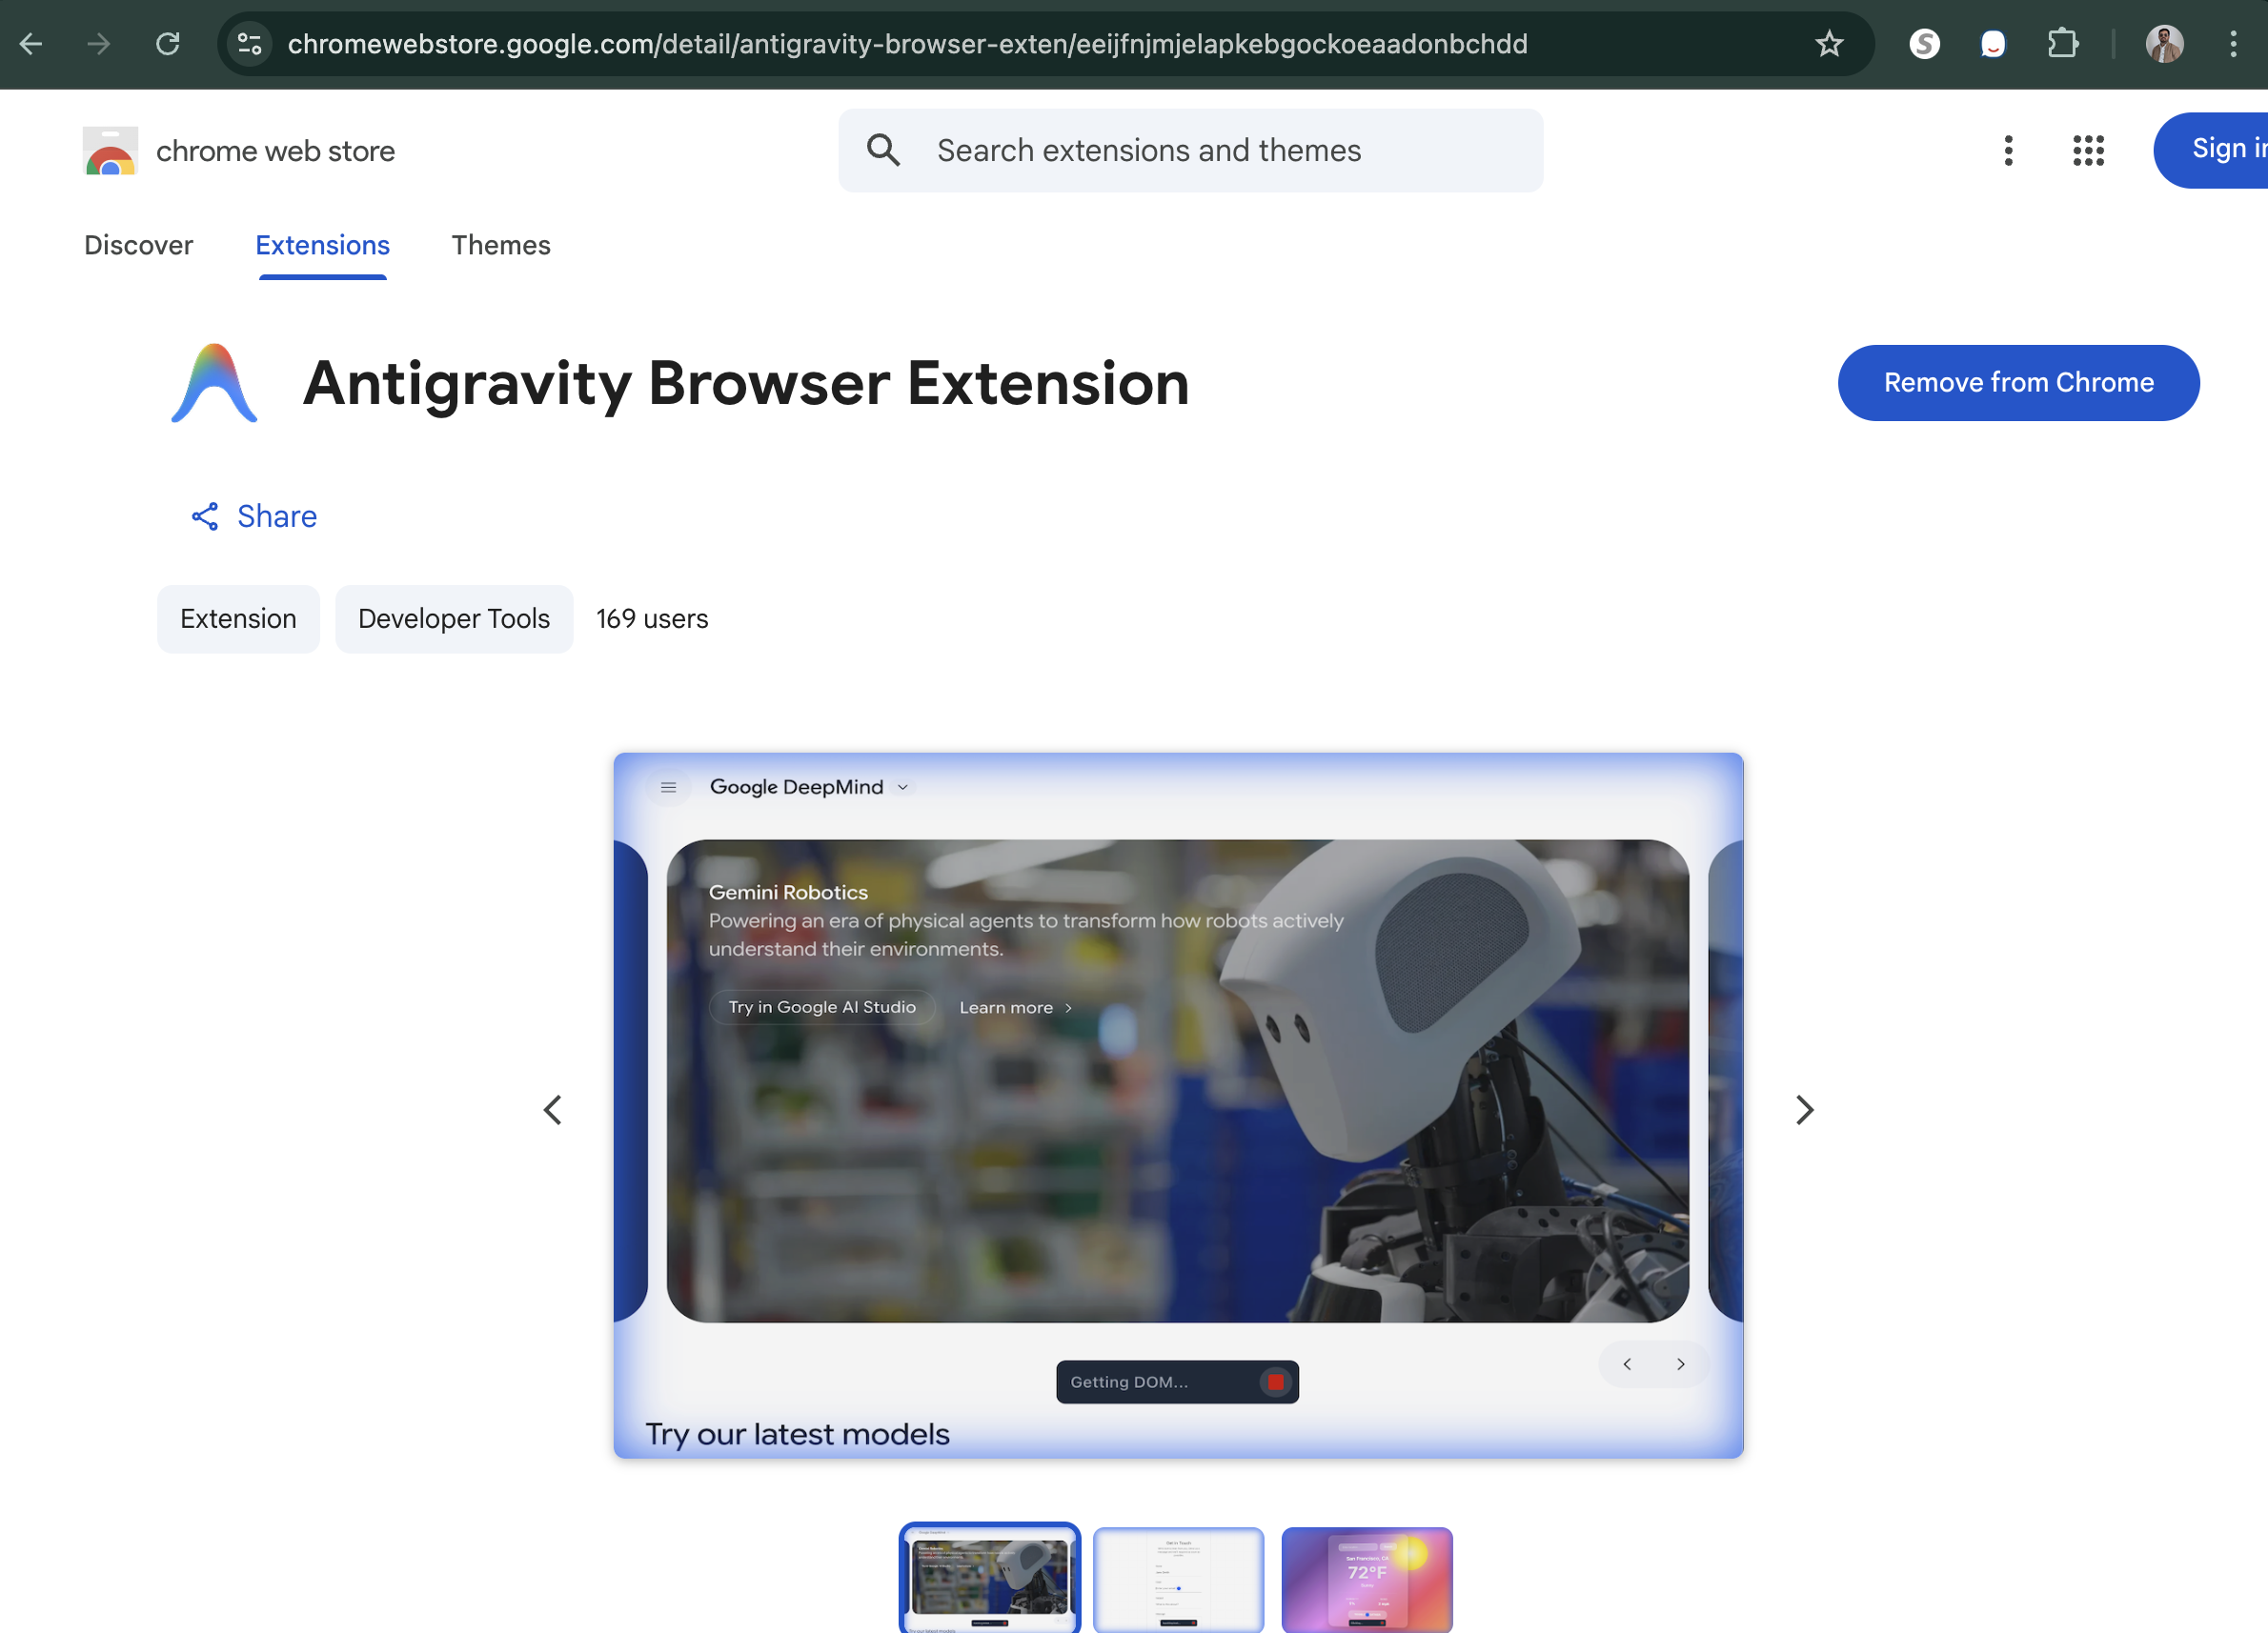
Antigravity Chrome Extension
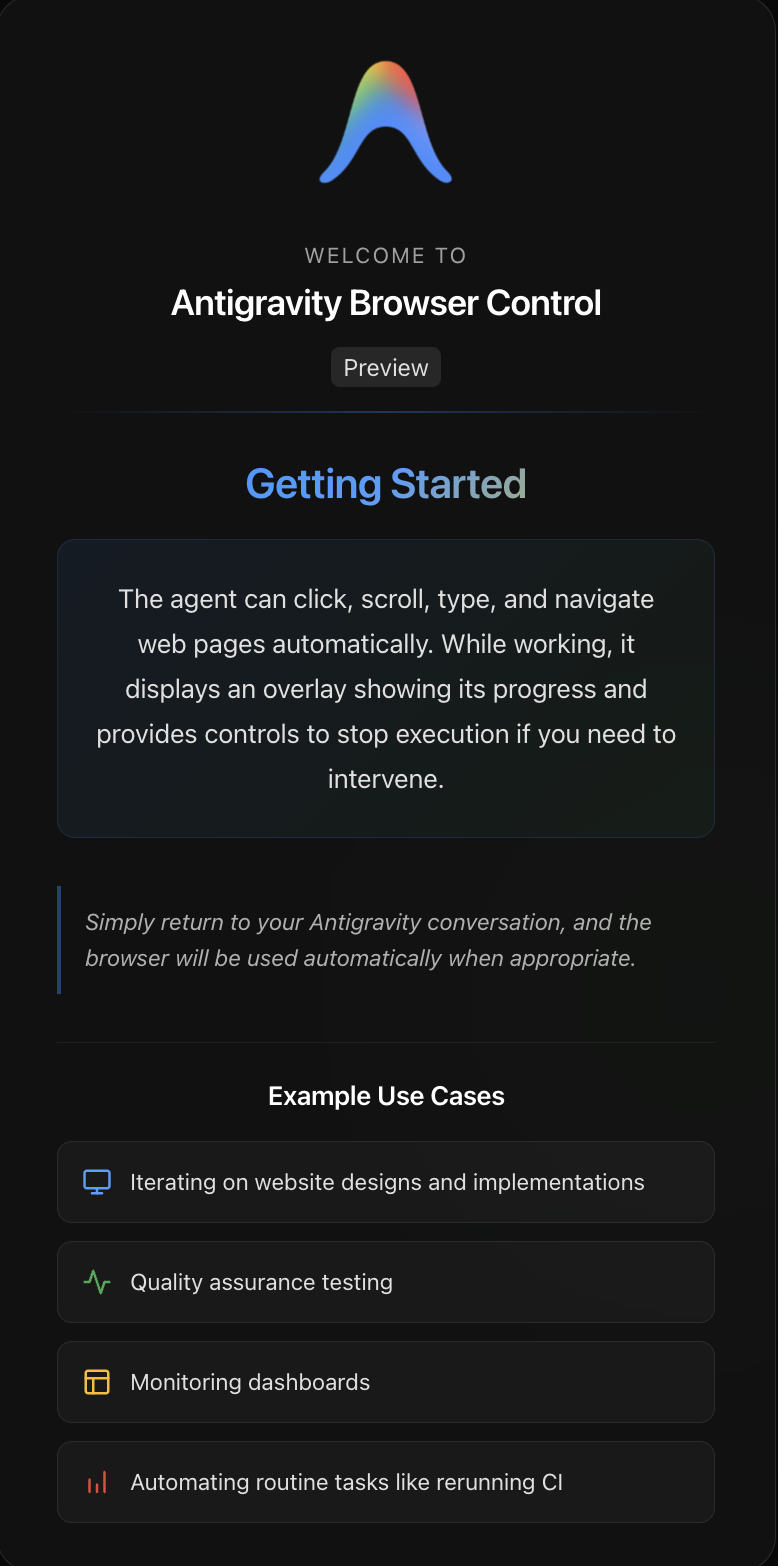
Antigravity Browser Control
Taskbar and Agent Manager
The taskbar provides quick access to common actions and tools. One distint thing there is Agent Manager, which opens an entirely different interface along with a concept of workspaces. This is intriguing, more on it later.

Antigravity Taskbar
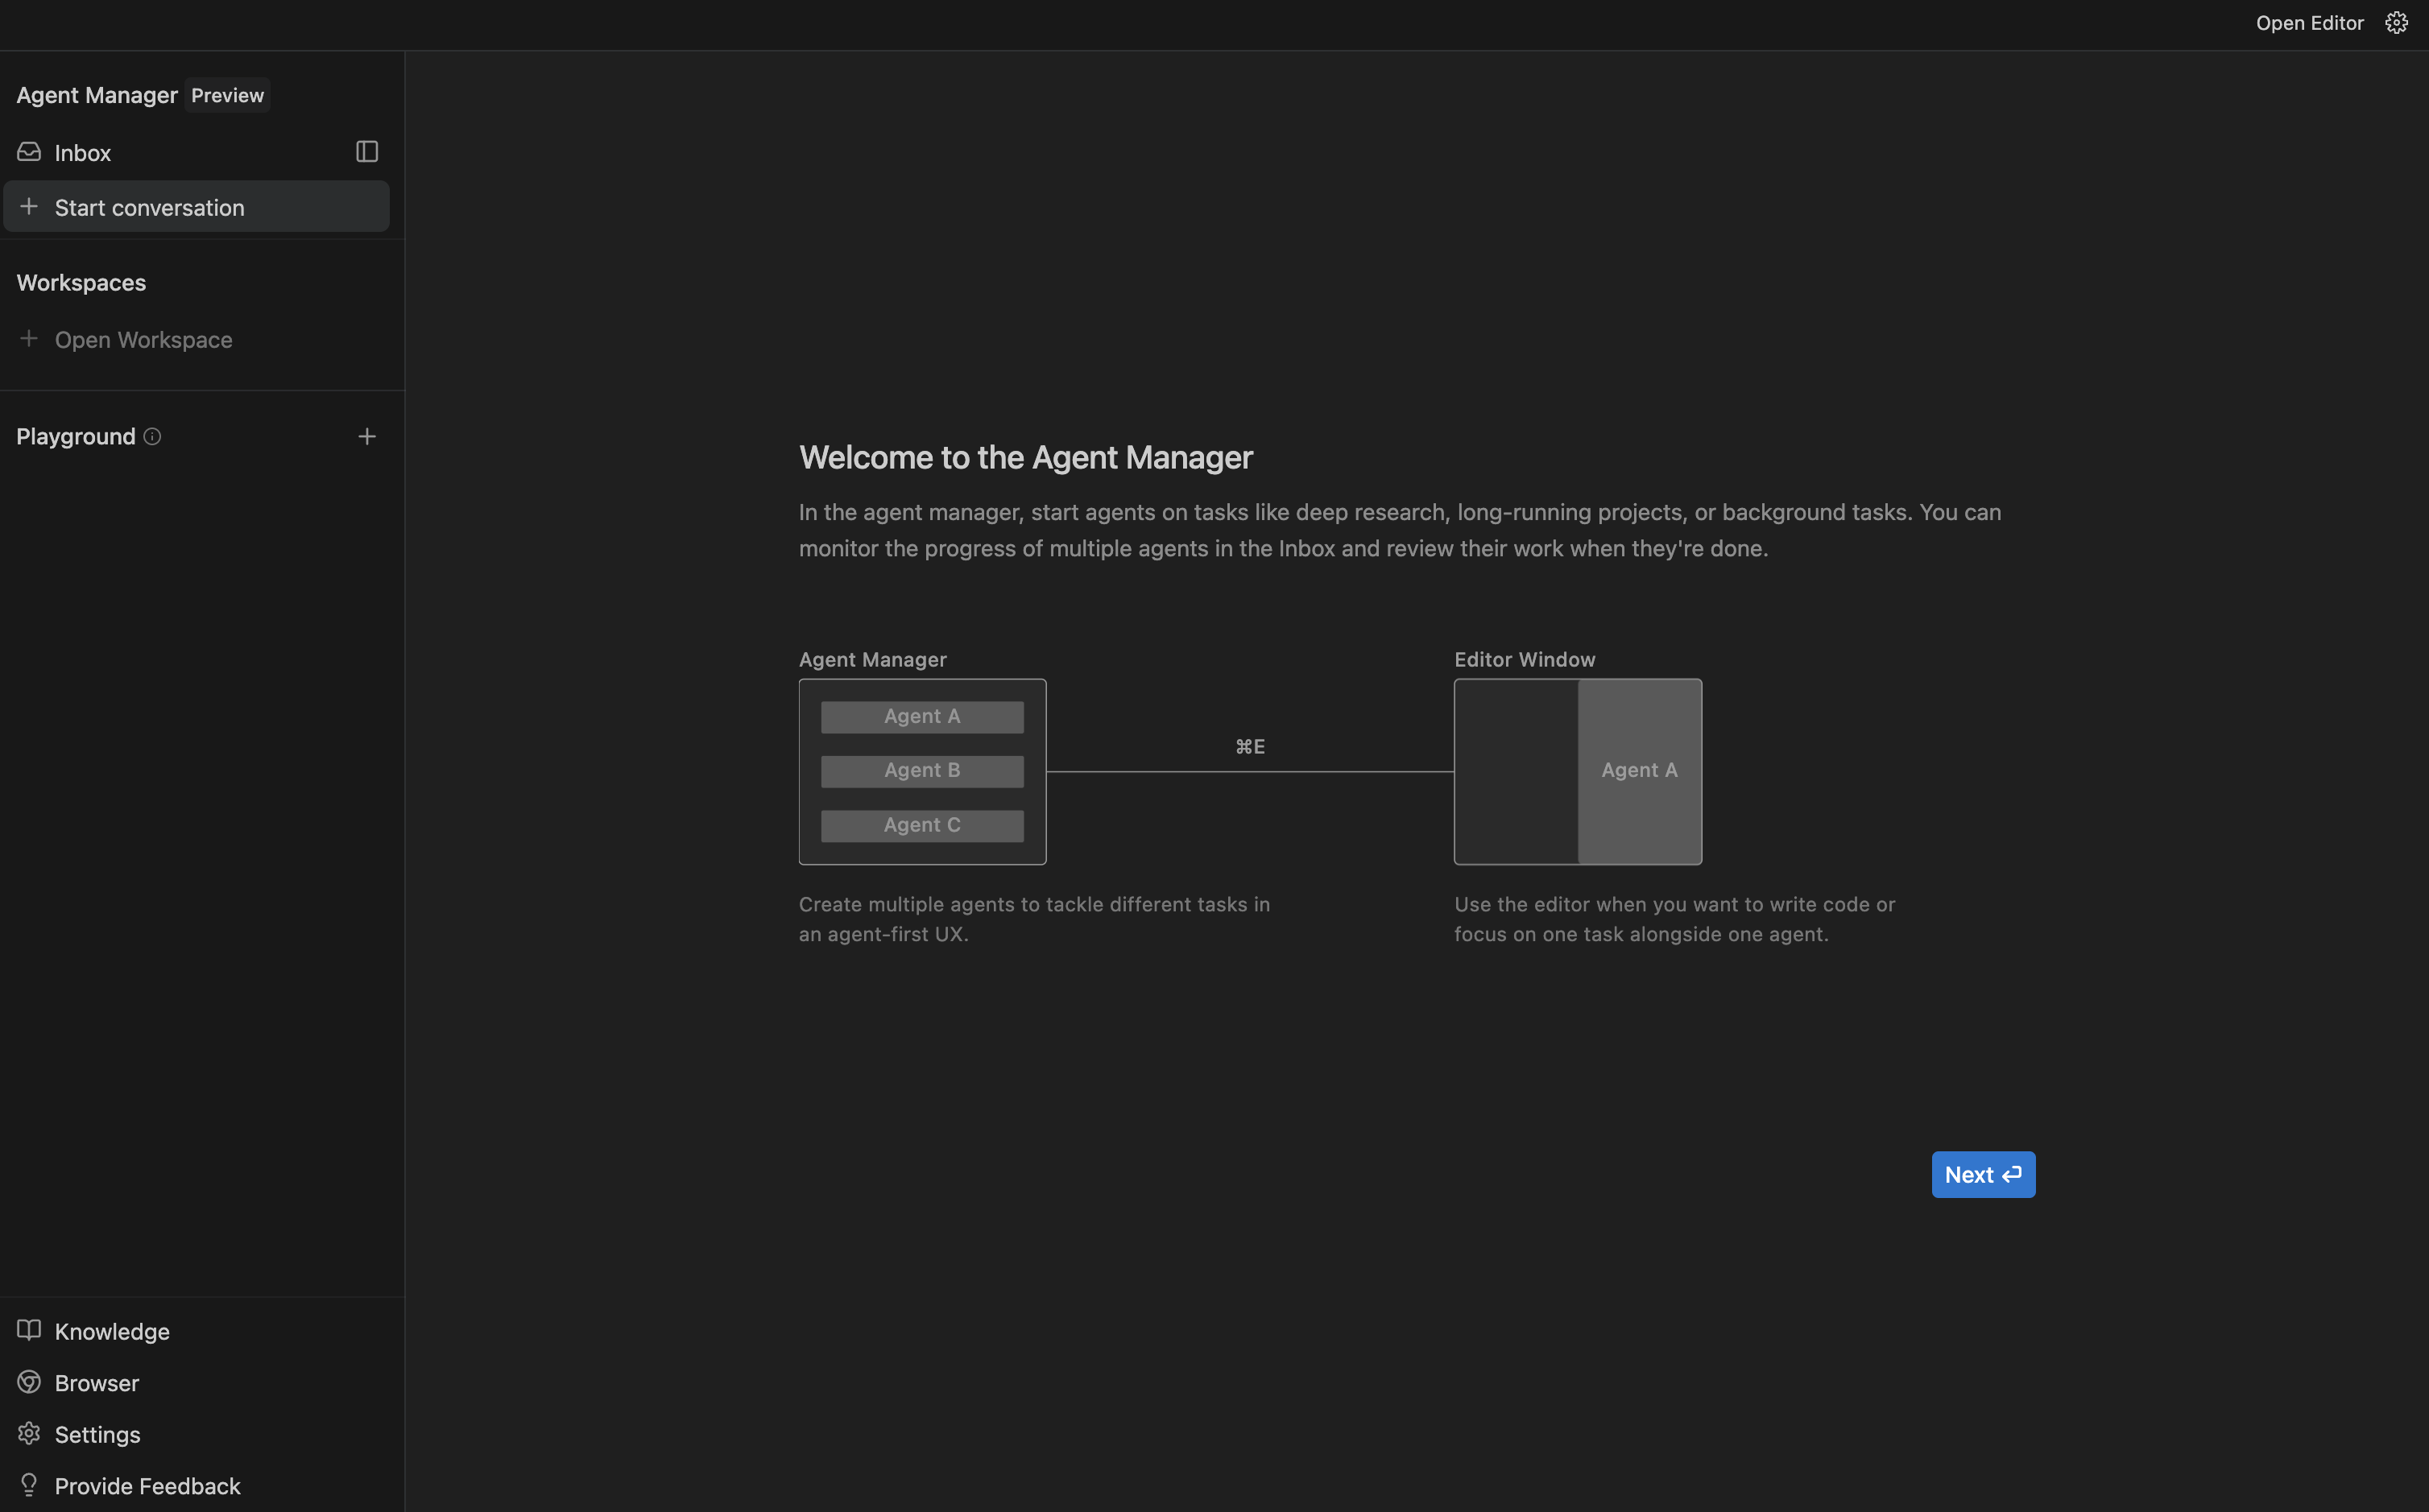
Antigravity Agent Manager
Demo Project
I started with an empty folder, asked to create a new Astro project with Drizzle (using SQLite) and better-auth for authentication.
I wanna create a starter project with Astro that can be used as a base for all my future projects. I want this to include drizzle orm with sqlite. I want to use better-auth for authentication. Create most basic login and sign-up form with minimal css. Let me configure passwordless login with email, and then after successful login land me on a homepage with just a greeting message.
In the planning mode, I got 3 artifacts as a result, and it was very very quick. The first result came back in 3 sec. The generated artifacts are:
- Walkthrough
- Task
- Implementation Plan
Walkthrough
This is a markdown file, that provides a summary of what the Agent did and how do you validate the results. This seems like a good README about the task that was executed.
This interface allows you to leave inline comments, this part is new and exciting.
Inline Comment example
Tasks
This is your standard checklist of what items were done. This also allows inline comments.

Task List example
Implementation Plan
The implementation plan details each change, how they were handled and what steps would be necessary to get the project running. It is more detailed than the walkthrough and shows things like configuration files, environment files, etc.
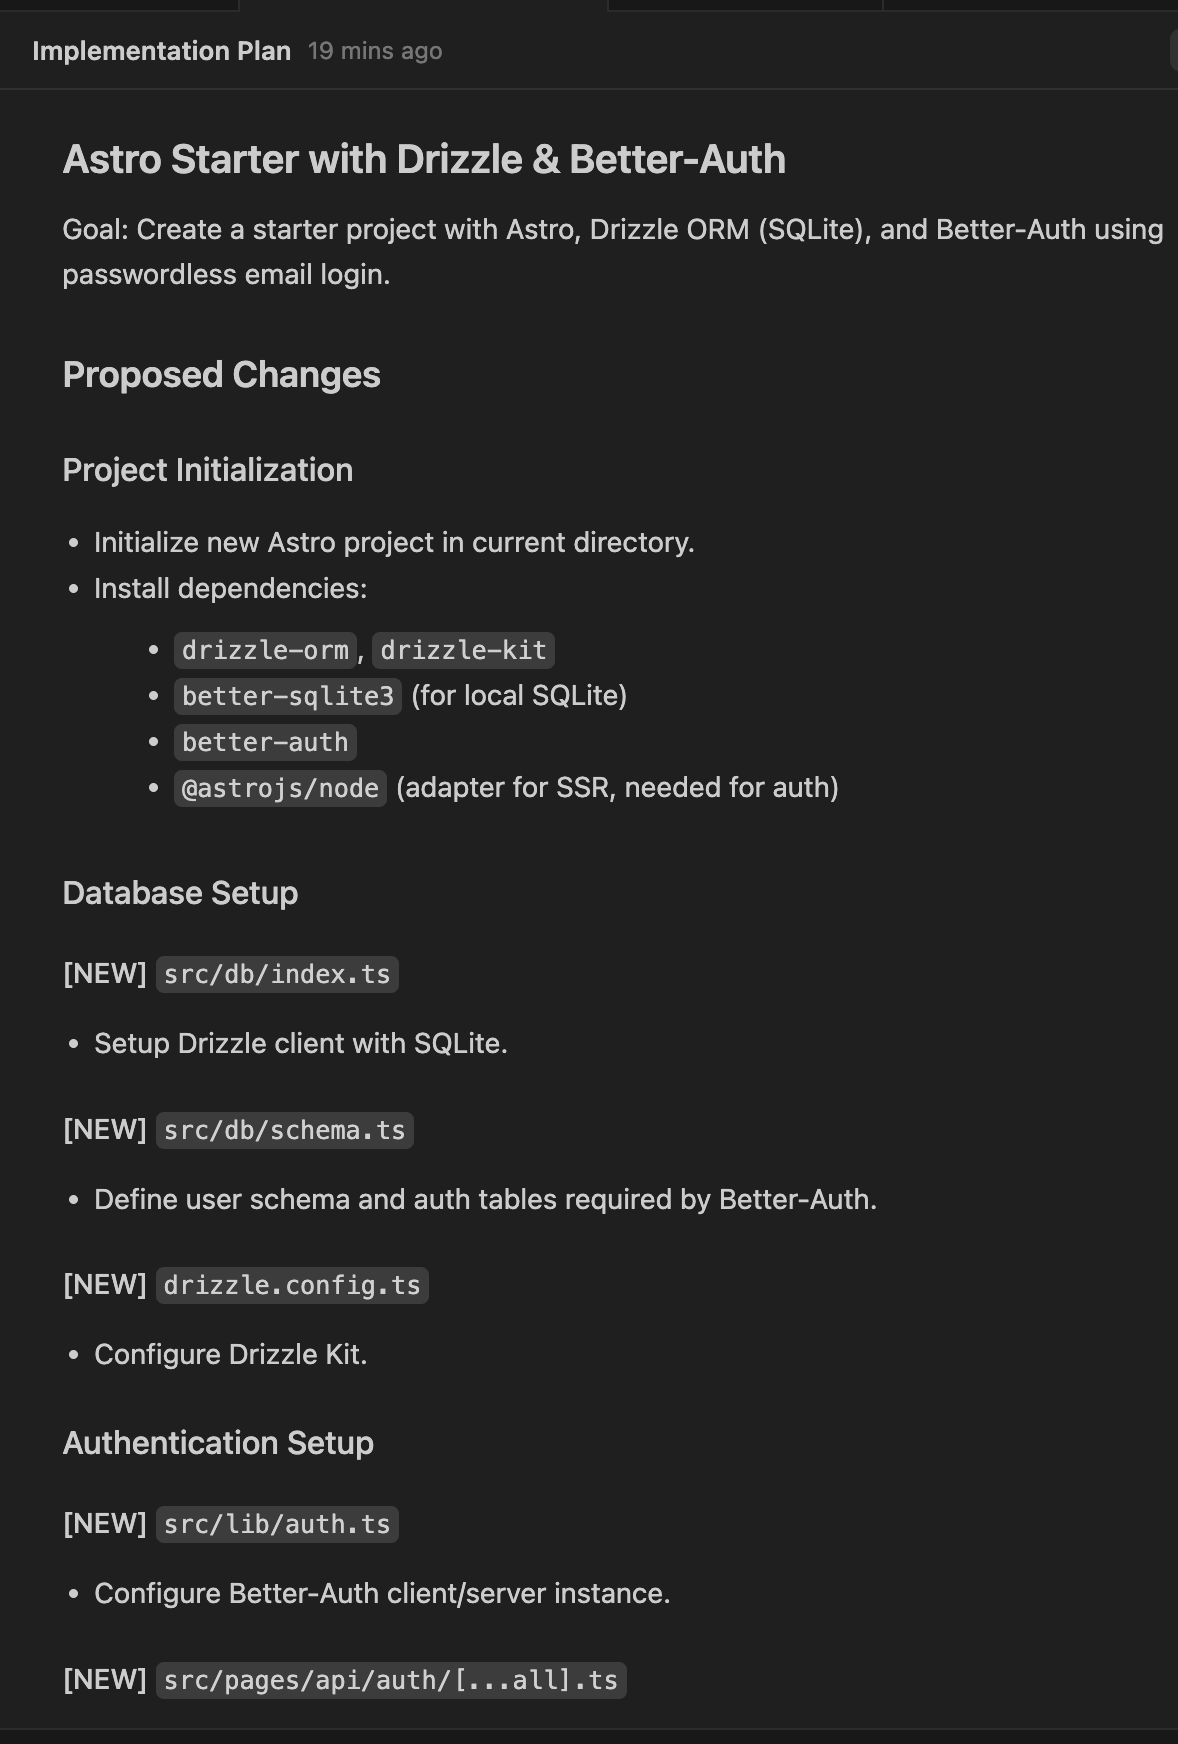
Implementation Plan example
Output
The code generated worked at first shot. I was able to render the login screen immediately. The files that are generated are as expected. The npm install command was already run for me. There was already a sqlite db called local.db which means the drizzle migrate command was also already run.
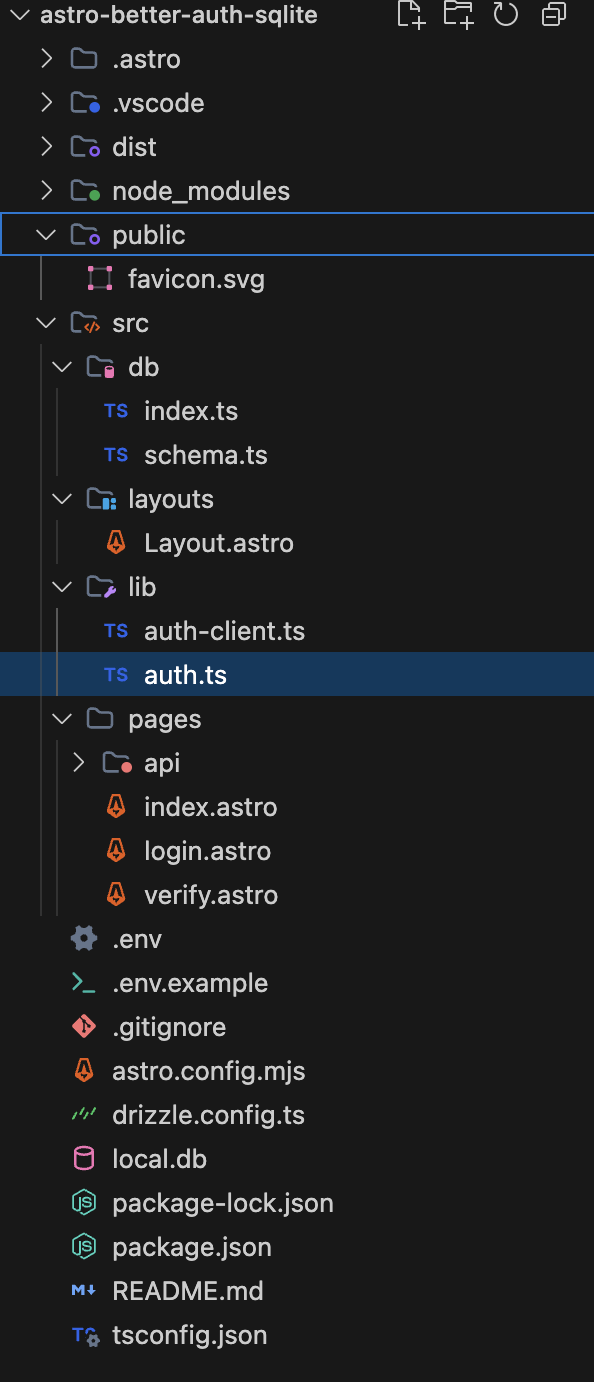
File Structure example
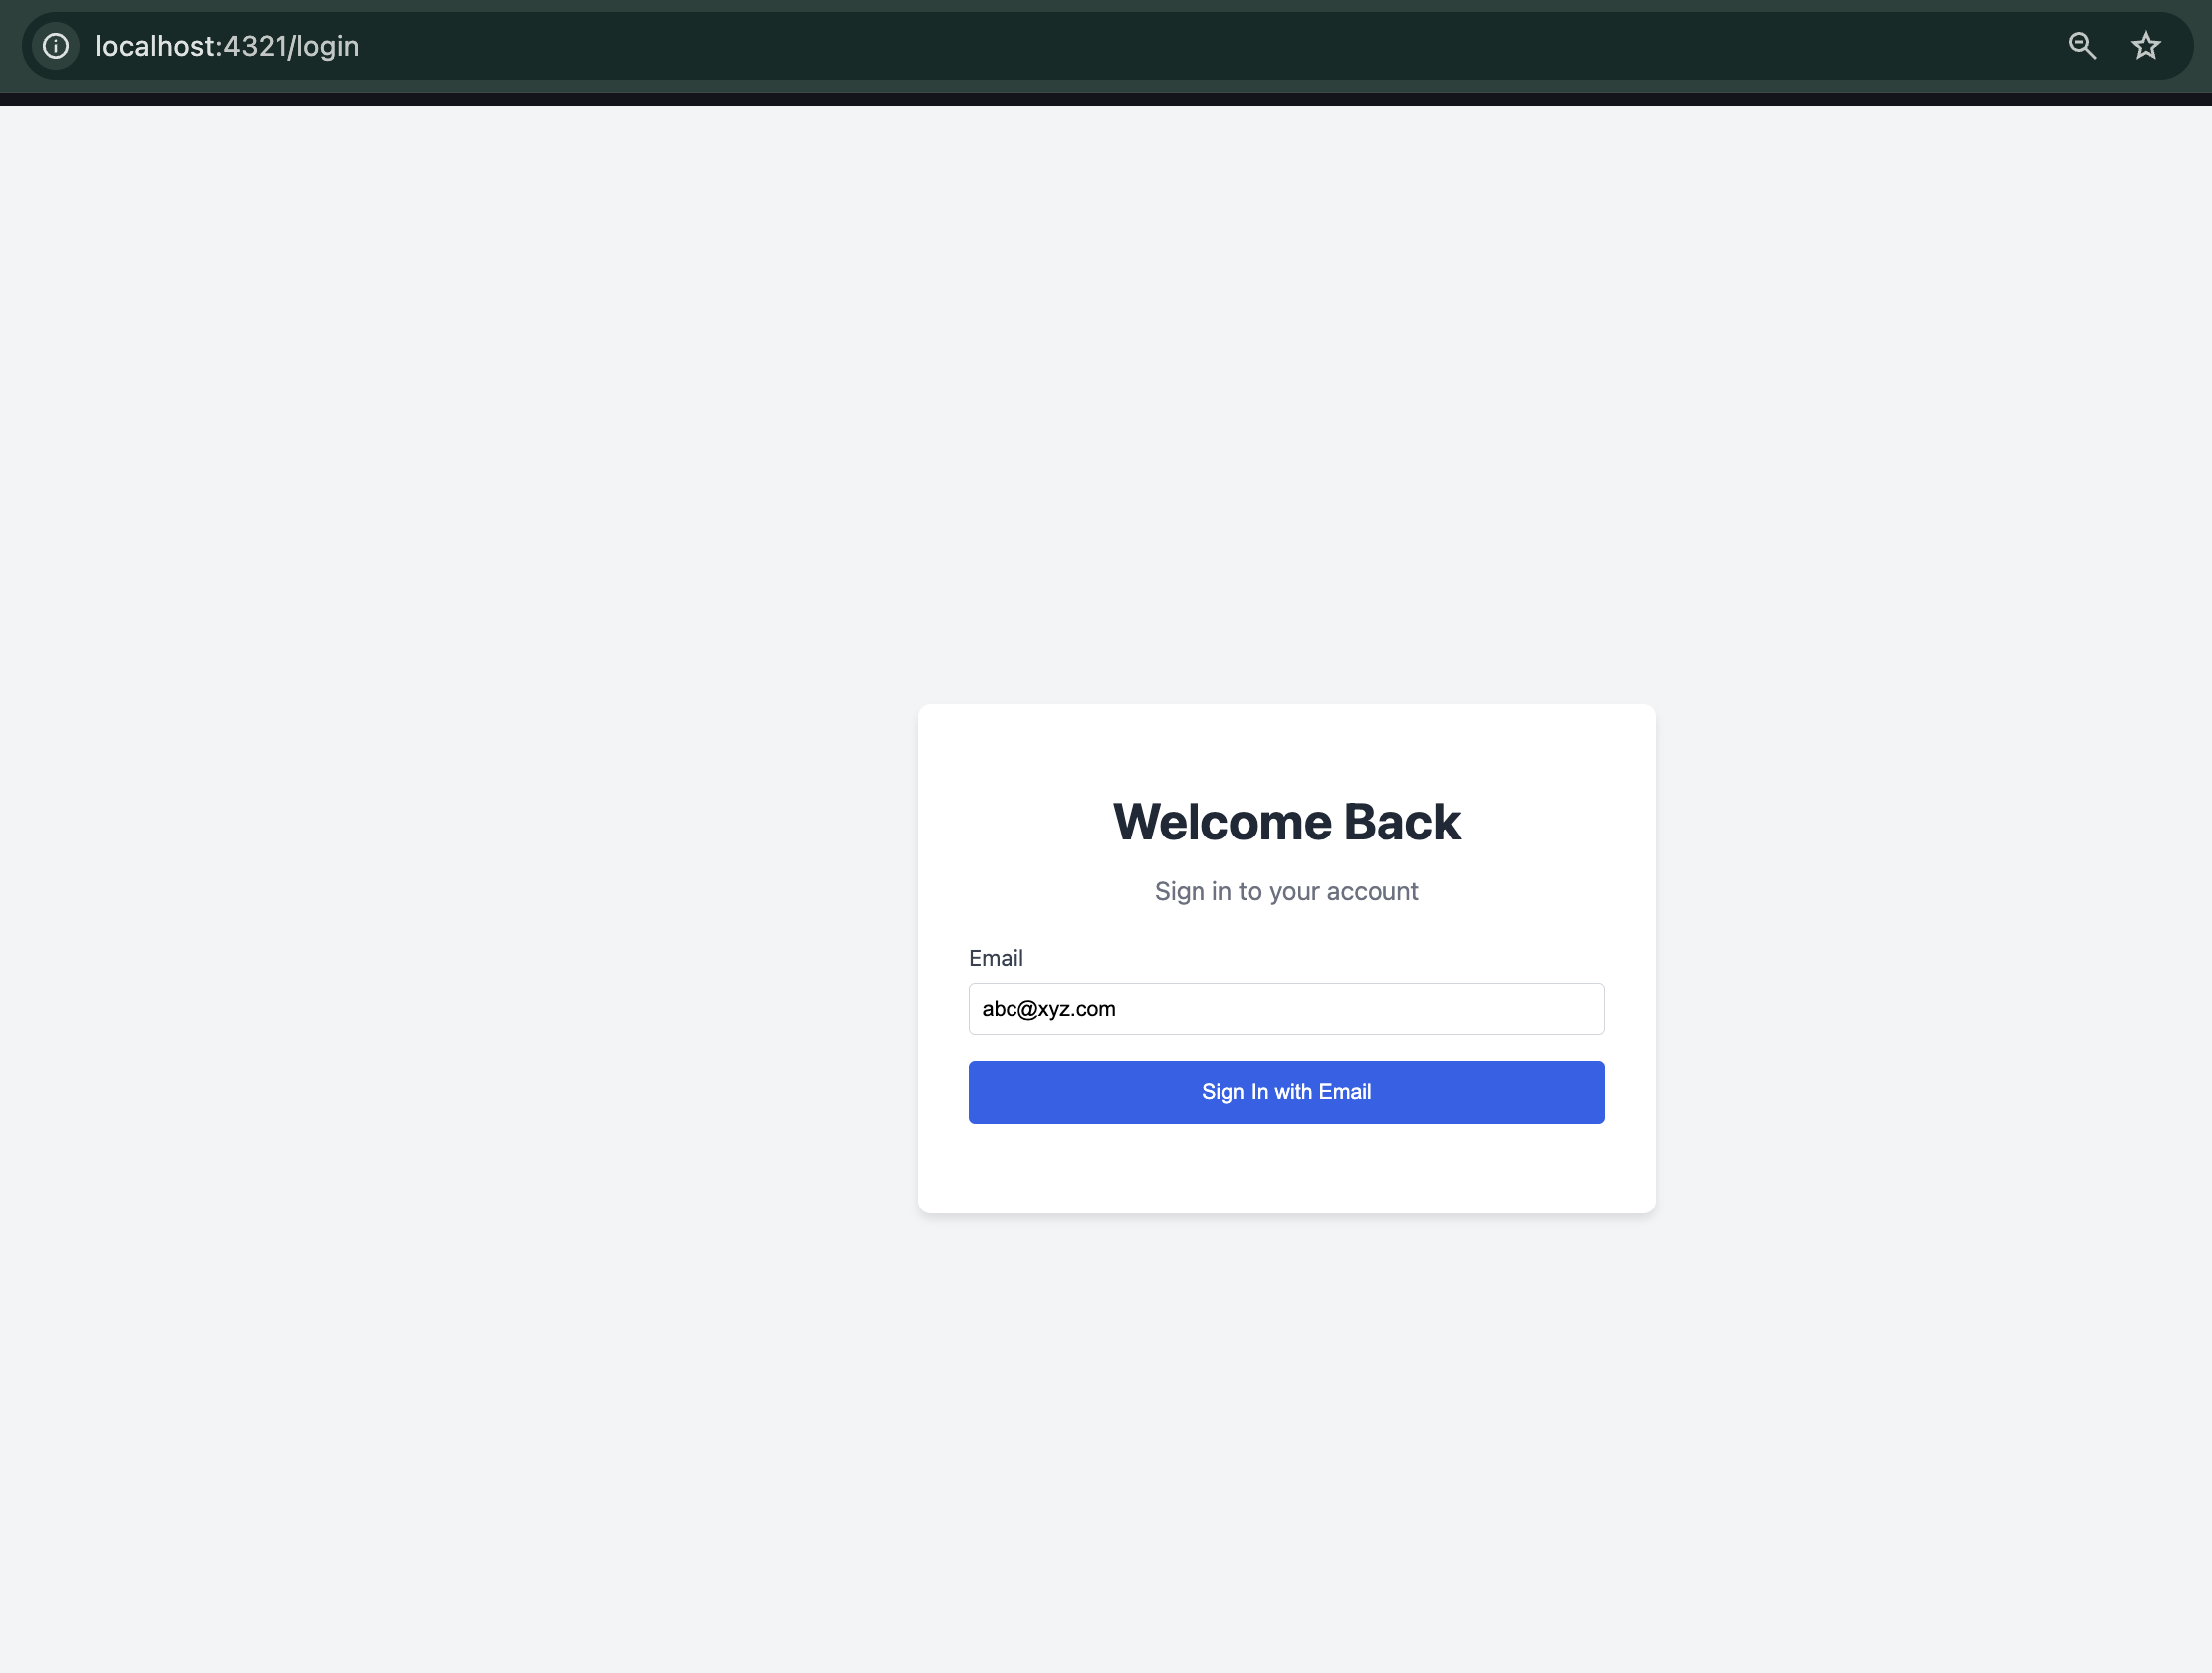
Login Screen
Even though the APIs seemed to have implemented, I wasn’t able to login because the otp endpoint /api/auth/sign-in/email-otp was throwing a 404.
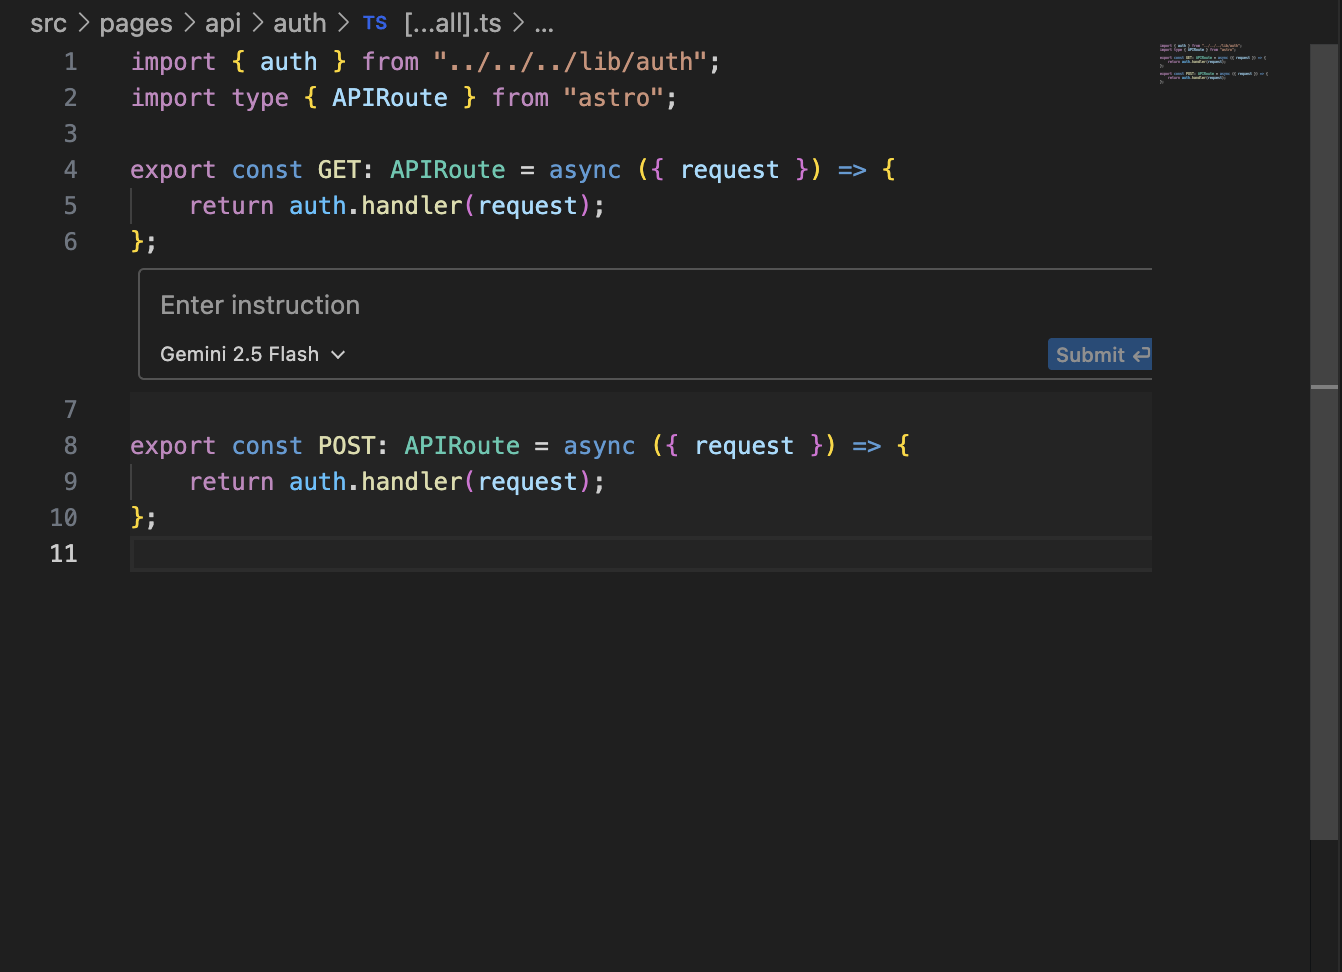
I asked the agent, this time in the Fast mode, to fix this error, and I was able to view a diff to see the changes.
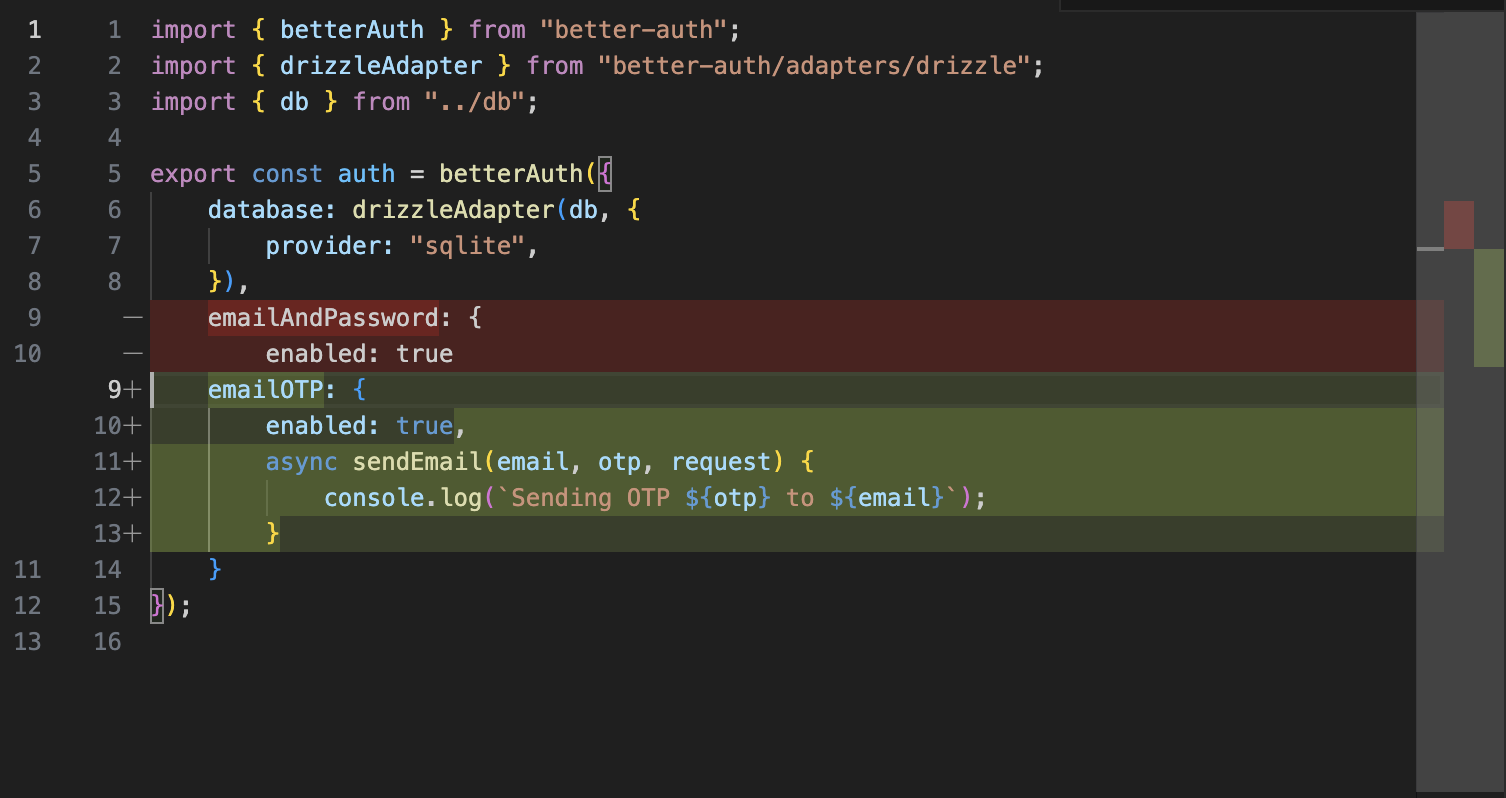
Code Diff example
Subsequent requests do not seem as fast as the first one, even though I used the Fast mode, which is supposed to think less and execute more. I also tried the inline chat with the code when a file is open.
One thing I noticed there was that the model options in inline chat did not include the Claude or GPT options.
Inline Code Chat example
After playing around with the interface a bit, I started getting an error.
Error: Encountered retryable error from model provider. Agent execution terminated due to model provider overload. Please try again later.
I did achieve my goal though. The entire flow worked as expected. I switched between the Gemini 3 model and the Claude 4.5 model, the chat remained intact, the context was retained and the output and speed remained consistent.
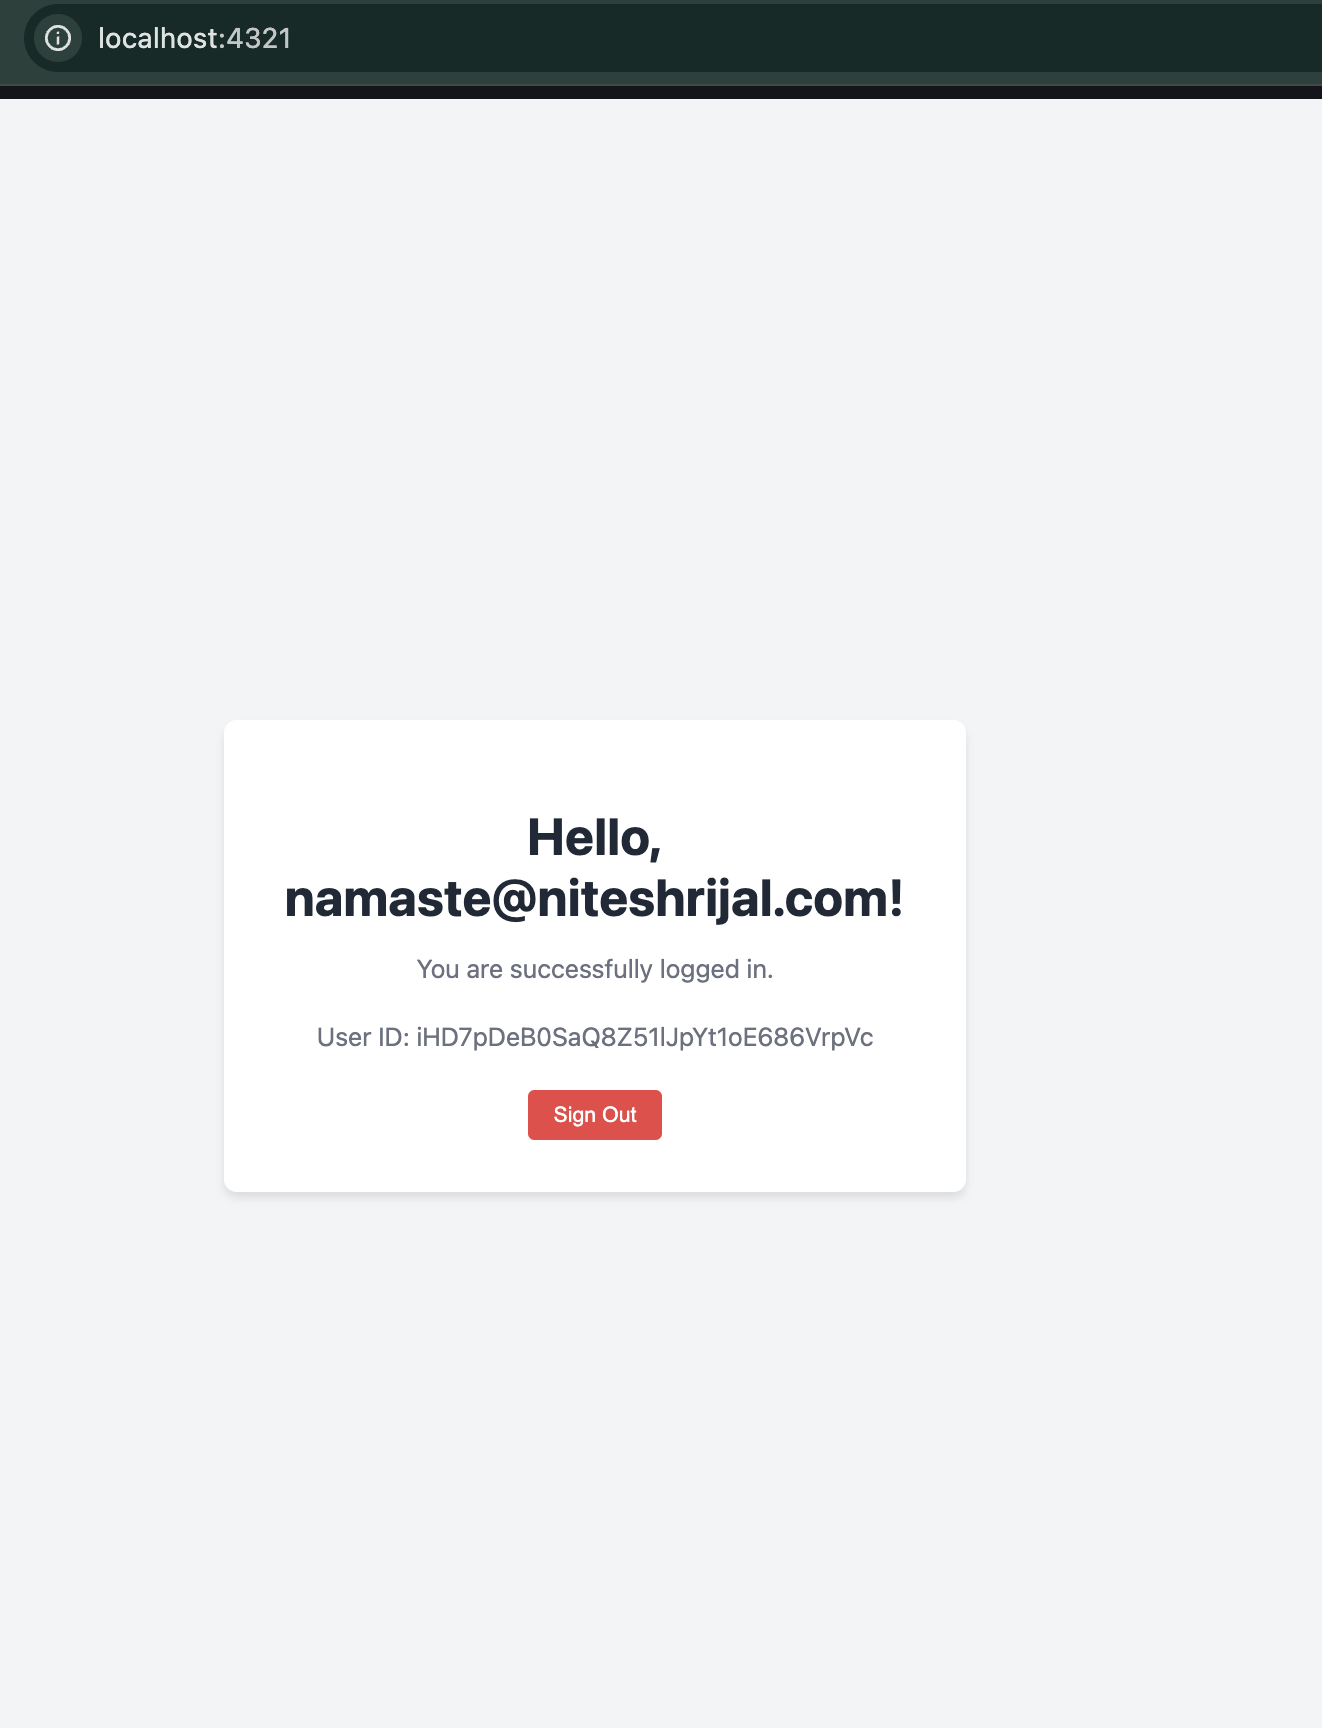
Successful Login Screen
Conclusion
Antigravity is an ambitious project that shows a lot of promise. The AI-powered features have the potential to significantly boost productivity. However, it’s still early days, and it remains to be seen how Antigravity will evolve and compete with other established IDEs. The verdict is still out, but Antigravity is definitely an IDE to watch.
I still have to test the unique features like the chrome browser integration through the extension, the agent manager feature that allows to create workspaces or use a playground.